Let's take a look at the parameters of this Galaxy Note 7 in our hands.
5.7" Super AMOLED Curved Screen, 2560 x 1440 Resolution, 5th Gorilla Glass
Qualcomm Snapdragon 820 processor with 4GB RAM and GPU Adreno 530
12MP, f/1.7 aperture, 5MP front camera
64GB storage space, up to 256GB microSD card expansion
Iris scanner, fingerprint recognition
S Pen Stylus, USB Type-C Interface, Headphone Interface
IP68 waterproof and dustproof
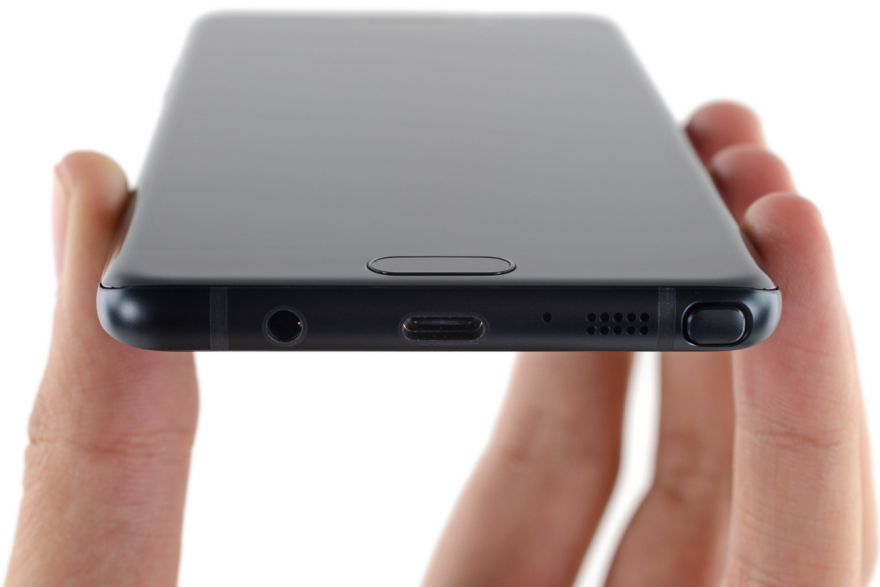
We look at the bottom of the fuselage, from left to right are the headphone jack, USB-C interface, microphone, speaker openings and S Pen, Samsung this time fixes the defects on Note 5, and the S Pen is not inserted again. Will get stuck.
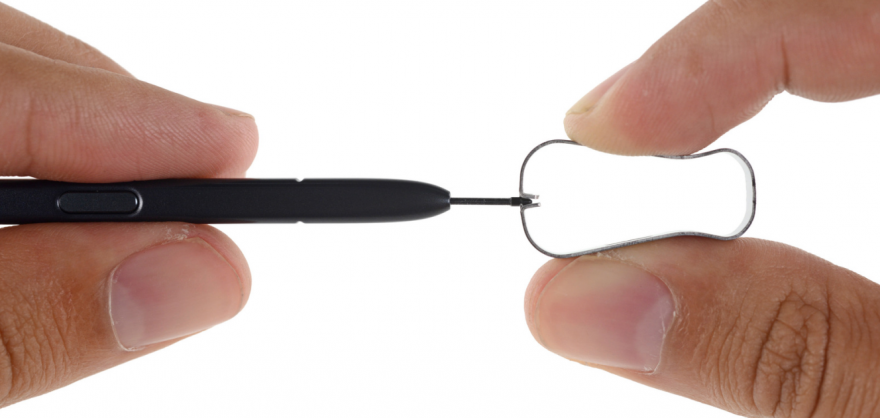
Personally I think that this S Pen is more comfortable to use than Microsoft's Surface Pen and Apple's Pencil. Its scanning rate and pressure sensitivity are 360Hz and 4096 levels, respectively, higher than the Surface Pen (scan rate 240Hz, pressure level 1024) A lot of, in addition S Pen comes with two pens, a little softer for writing directly on the screen, and the other is a bit harder for you to use after the film.
By the way, if dismantling a mobile phone is an Olympic sport, then we can surely get a gold medal every time. First we heat up the glass on the back so that the glue can soften, and then use the suction cup and paddle to put the glass and back shell. separate from.
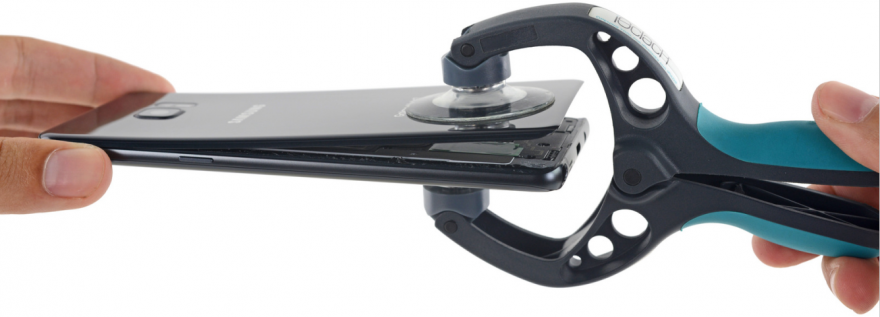
(Remove the back cover glass)
Now you can see some screws on the back panel, which is used to fix the Note 7 wireless charging ring, and we guessed that NFC is also integrated in it.
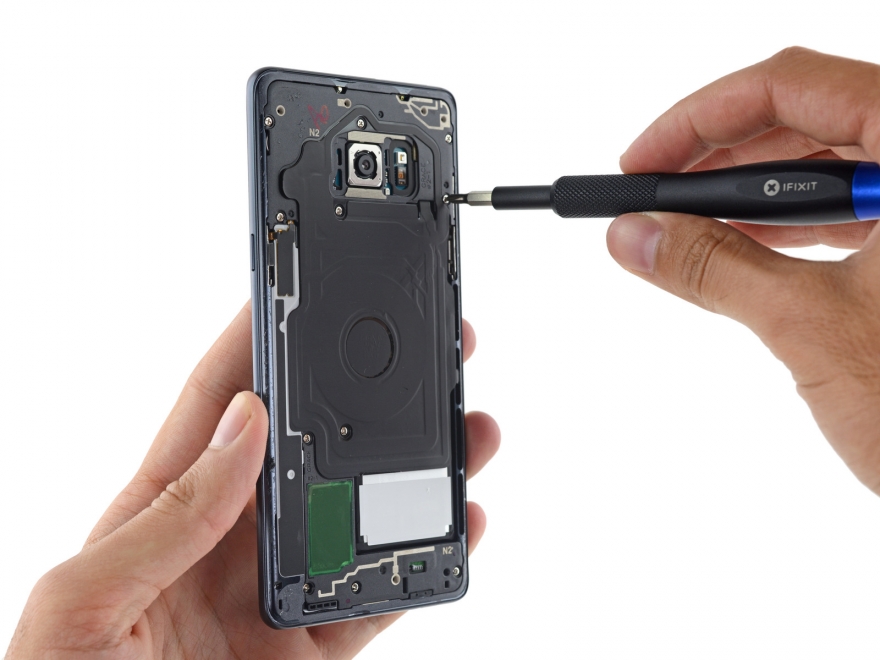
(Remove the screw)

(Radio loop)
After removing the radio ring, you can see the Note 7 battery, insert the paddle into the bottom of the battery, and then use the crowbar to remove it from the motherboard, but it is a bit laborious. We can also see a single speaker with a built-in antenna. There is a layer of gasket and mesh around the speaker. This should be designed for waterproofing. The battery capacity is 3500 mAh.
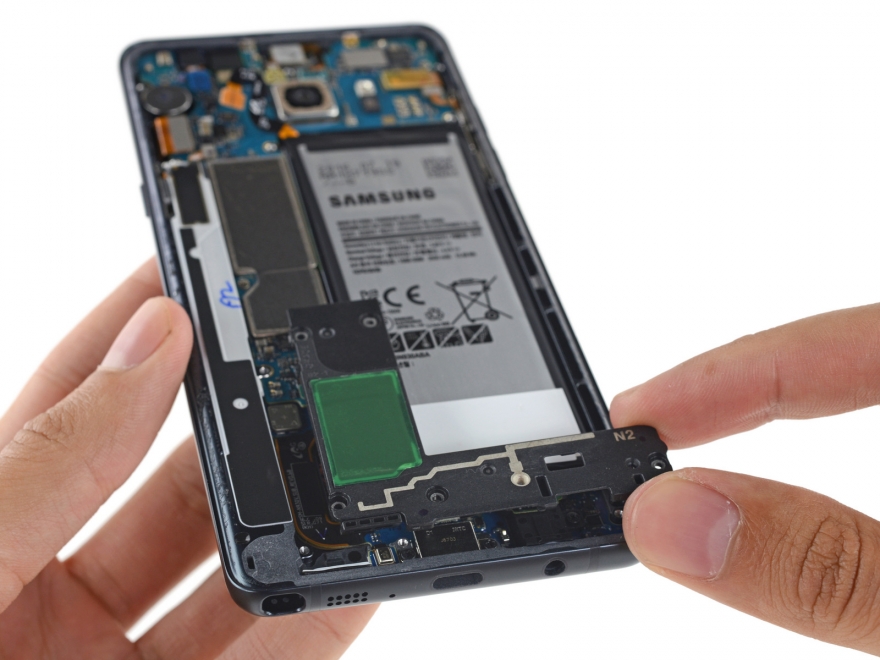
(speaker)

(battery)
Remove the motherboard, you can see a total of three cameras, in addition to front and rear camera, there is an iris scanner, iris scanner works in conjunction with infrared, when using the iris to unlock, a naked eye can not see The infrared light illuminates your eyes, and then the iris scanner captures the photos of your eyes to unlock them.
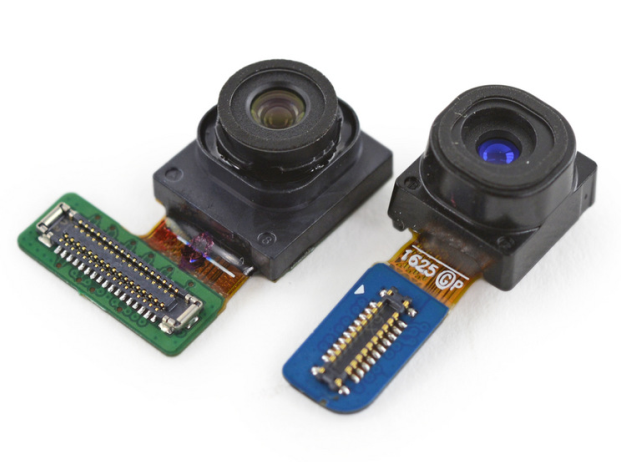
This is iris scanner (right) and front camera (left)
We took the main camera off with pliers and it was a familiar feeling. This was the same Sony IMX260 sensor as on the S7 and S7 Edge.
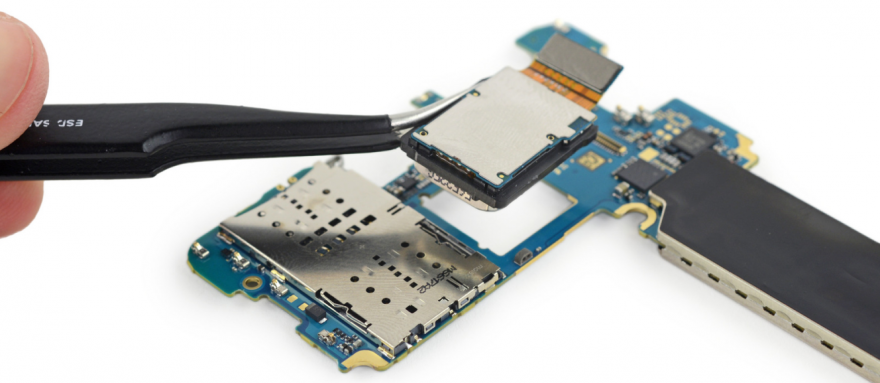
(main camera)
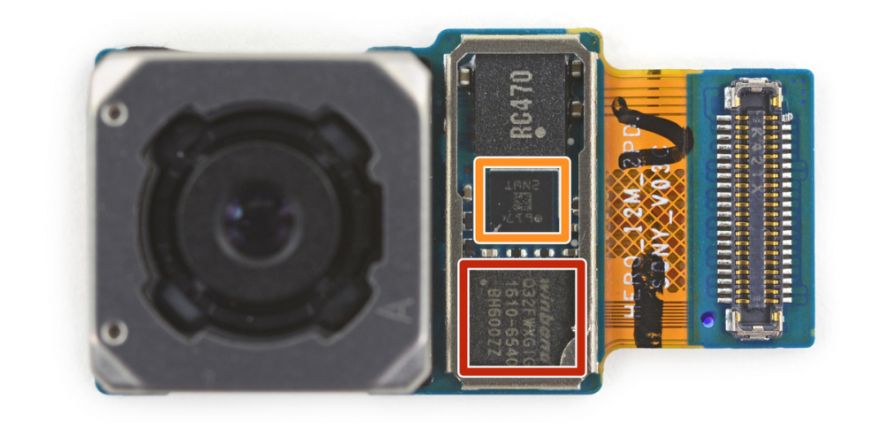
Red: Winbond Q32FWXGIG Serial Flash
Orange: Optical Image Stabilization Gyro, Should Be the Same STMicroelectronics K2G2IS Gyroscope as on the S7 Edge
Now let's take a look at the chip on the motherboard.

Red: Samsung K3RG2G20CMMGCJ 4GB LPDDR4 SDRAM memory, covered with Qualcomm Snapdragon 820 processor.
Orange: Samsung KLUCG4J1CB-B0B1 64GB UFS2.0 flash memory chip
Yellow: Anwara AFEM-9040 multi-frequency multi-mode RF chip
Green: NXP 67T08 NFC Controller
Light blue: Qorvo QM78064, TQF6260 front-end module and QM63001A diversity receiver module
Dark blue: Qualcomm WCD9335 audio decoder
Purple: Japan Murata FAJ15 front-end module
Turn it over and look at the chip on the back of the motherboard.
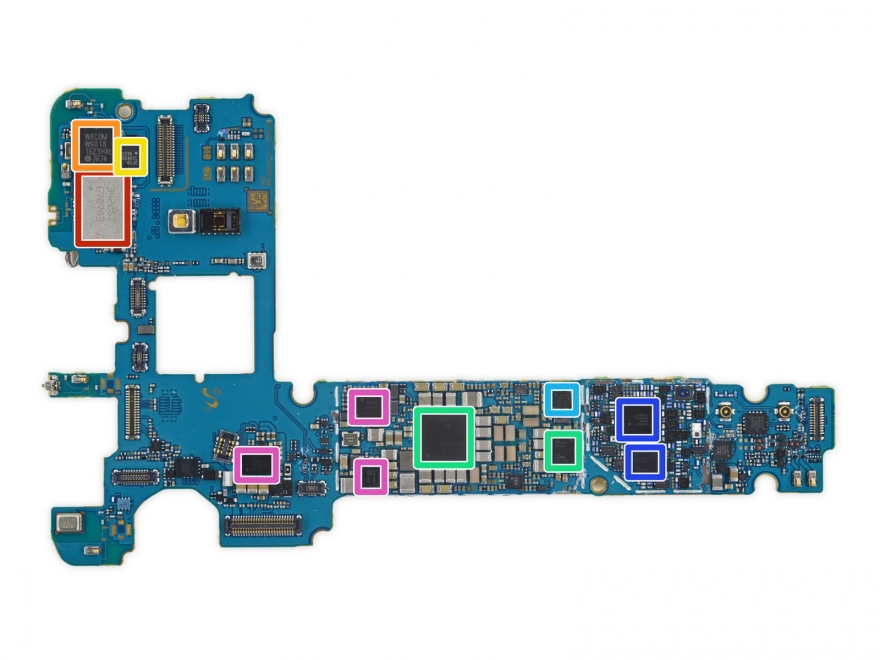
Red: Samsung 3420S7 G707A3 WiFi module (it should include a Broadcom WiFi SoC)
Orange: Wacom W9018 touch chip
Yellow: ZF10
Green: Qualcomm PM8996 and PM8004 Power Management ICs
Light blue: Qualcomm QFE3100 ET
Dark blue: Qualcomm WTR4905 and WTR3925 RF Transceiver
Purple: IDT P9221S wireless power receiver, MPB02 603PD9 1625ELn, MAX77830 power chip
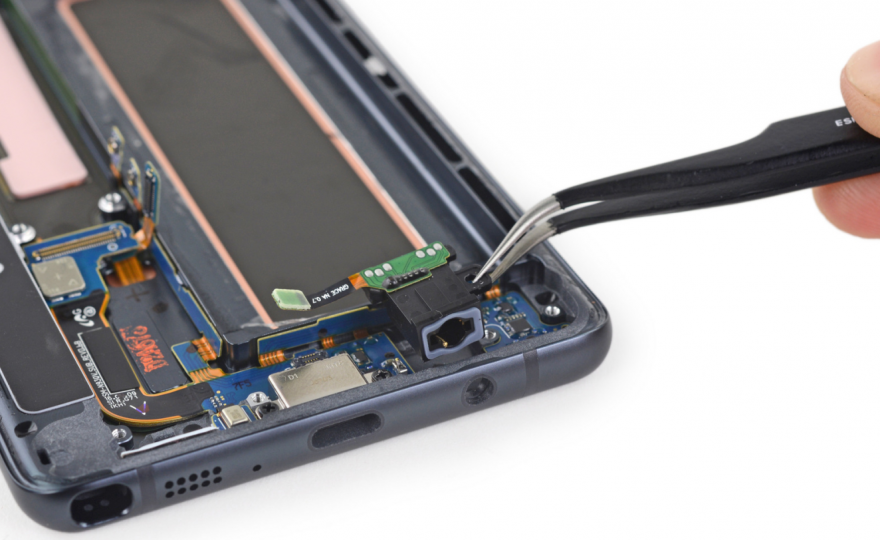
Then continue to remove, remove the headphone jack module, in order to waterproof, this connector also uses a gasket.
The USB Type-C interface was first installed in the Note series, but since the transition from microUSB to Type-C has gone through a period of pain, Samsung congratulated you with an adapter for you.

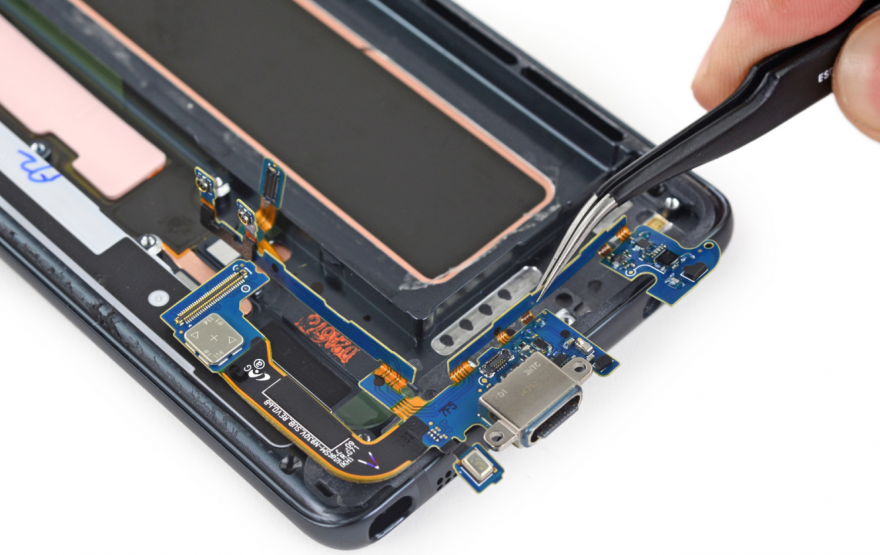
Now take a look at the sub-board. Unlike the Galaxy S7, the sub-version of Note 7 uses a very rigid PCB connector, which makes its cables less fragile.
The heat pipe on Note 7 is very thin. Next to the heat pipe is the S Pen's slot tube, where the socket tube is held in place by various adhesives. There is a gray rubber block at the bottom of the socket tube. This is used to protect the pen tip of the S Pen.
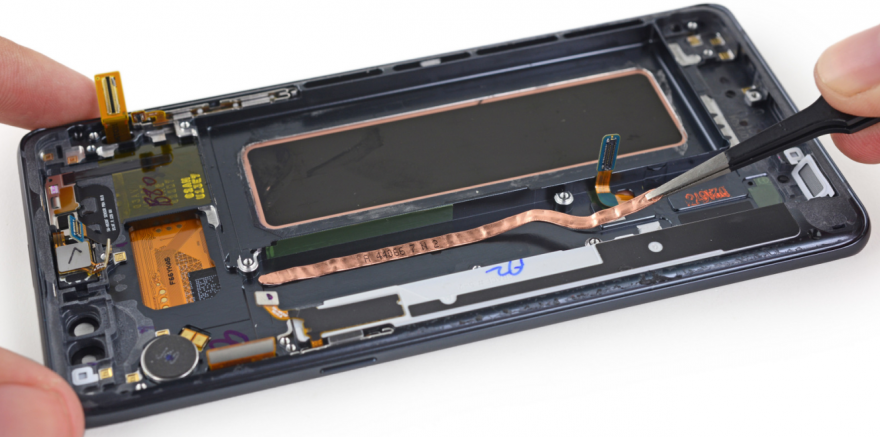
(heat pipe)

(S Pen slot)
The volume key part looks very complicated and difficult to do, but this will not fail us.
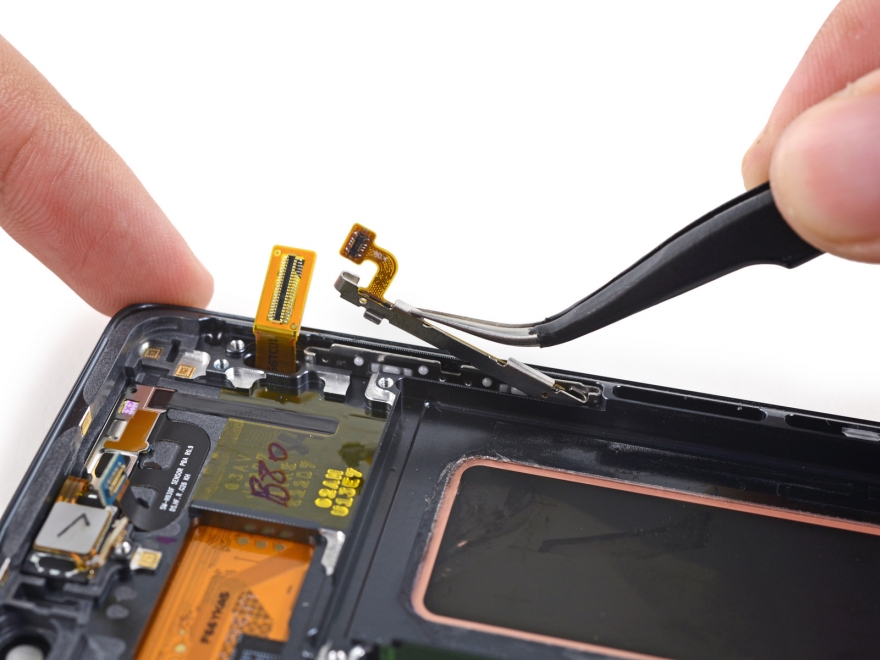
Use a small pliers to remove the switch.
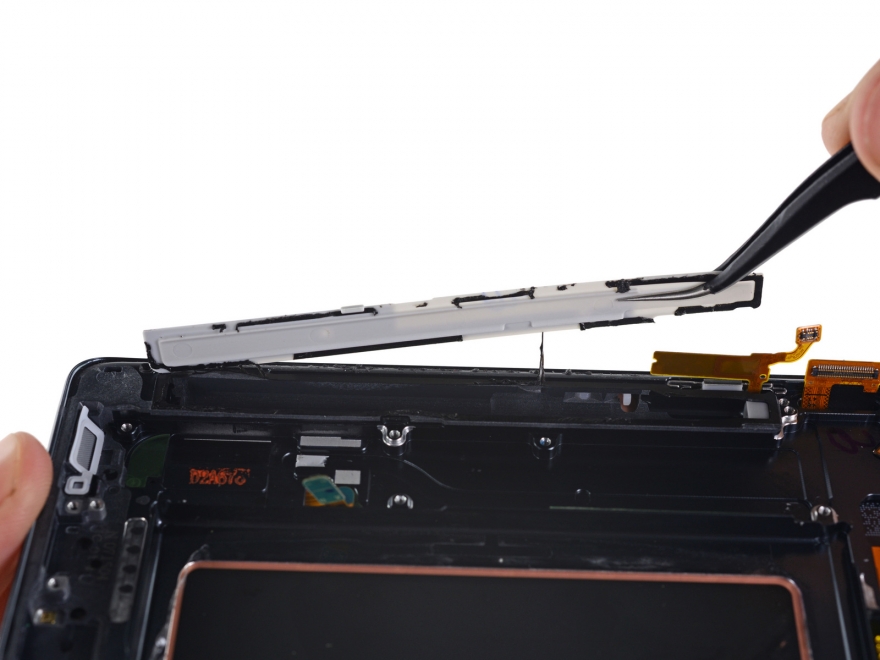
Then there is a reinforced button bracket, which also uses a gasket.
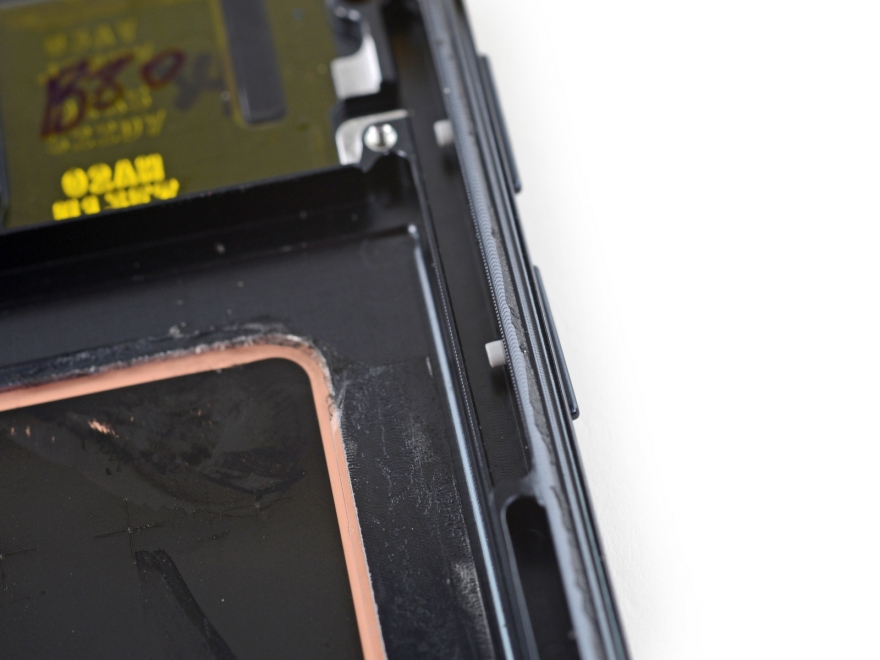
However, the volume buttons are embedded in the casing and cannot be removed.
Next we look at the display sensor.
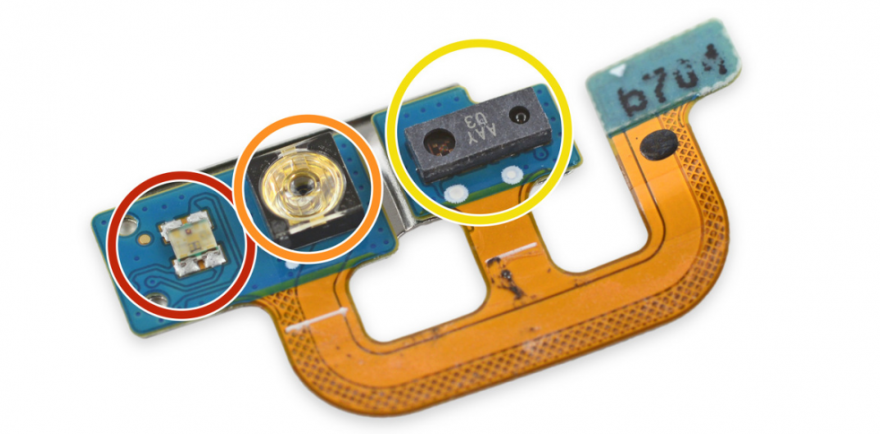
Red: LED message light
Orange: Infrared emitter
We've seen the iris scanner before, and now this infrared emitter will illuminate your eye so that the iris scanner captures the image of your eyeball.
Yellow: distance sensor
to sum up
The easy score for Samsung Galaxy Note 7 is: 4 points, out of 10 points, the higher the score, the easier it is to fix.
Many components in the fuselage are modular and can be disassembled and replaced individually
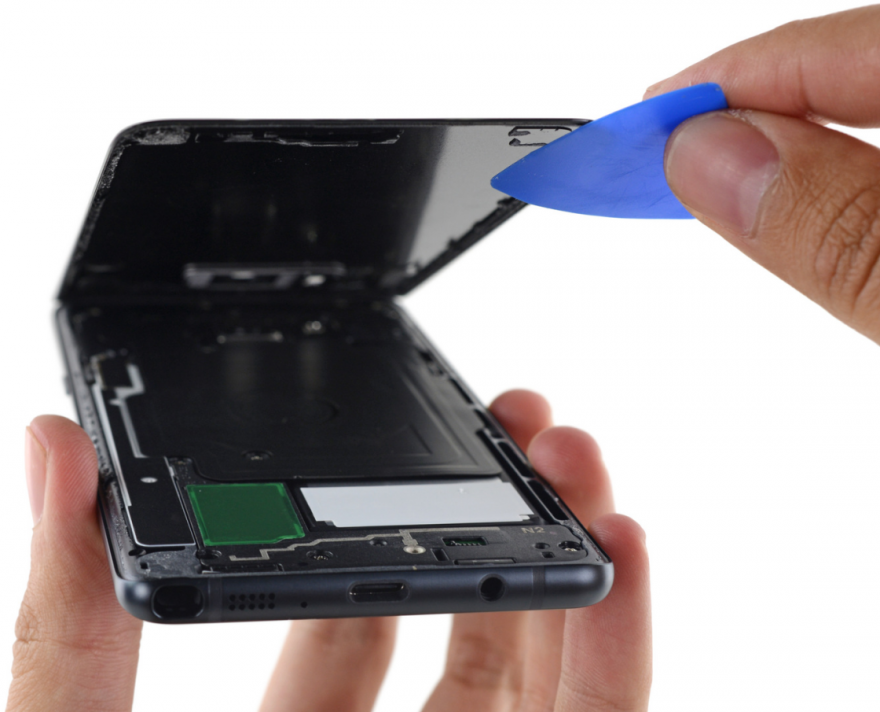
Improved cable routing, which means that the charging interface board can be removed without separating the screen
No need to separate the motherboard before removing the battery, but it uses a lot of adhesives, making it very difficult to repair
Due to the curved screen, it is impossible to remove the front panel glass without damaging the screen.
Picture translation above is compiled from IFIXIT