The first 3D printer Hori M2 test of the 240th student
Saying that I am quite nervous, I participated in Yi Xun's public test with nervousness, anticipation, and earnestness. I actually succeeded in obtaining a trial opportunity for a dream machine like a 3D printer. To pay the deposit of 4,500 yuan, a little hesitation, after all, is not a small fee, but in order to 3D printer so magical thing is to fight (hey, the deposit will be refunded good or bad)
Before the arrival of the machine, the impression of the landlord on 3D printing is this

It's a magical world.
The landlord's own portrait at this time is this style

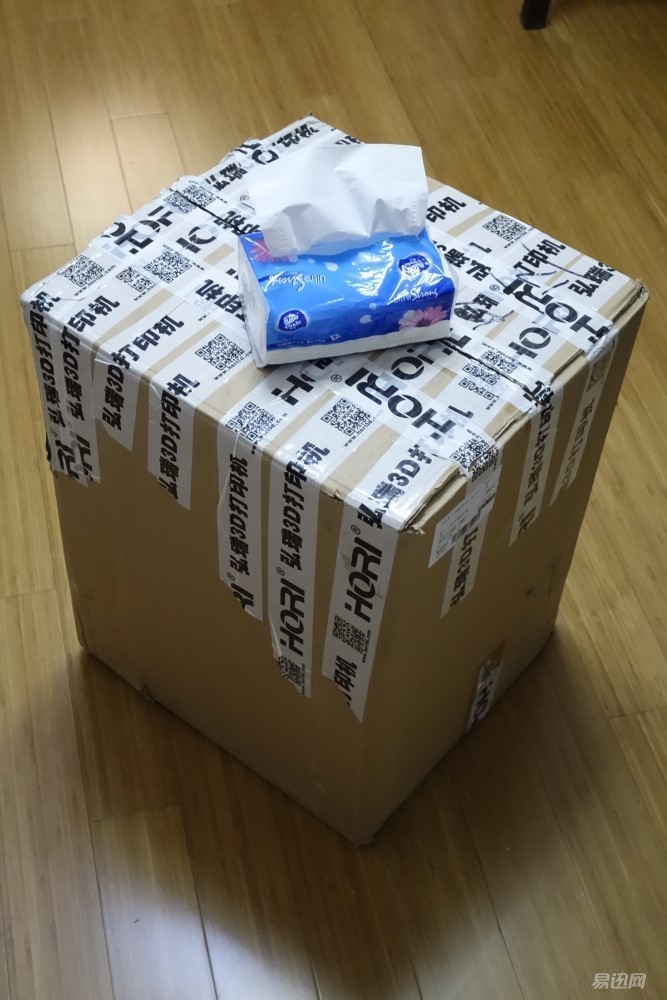
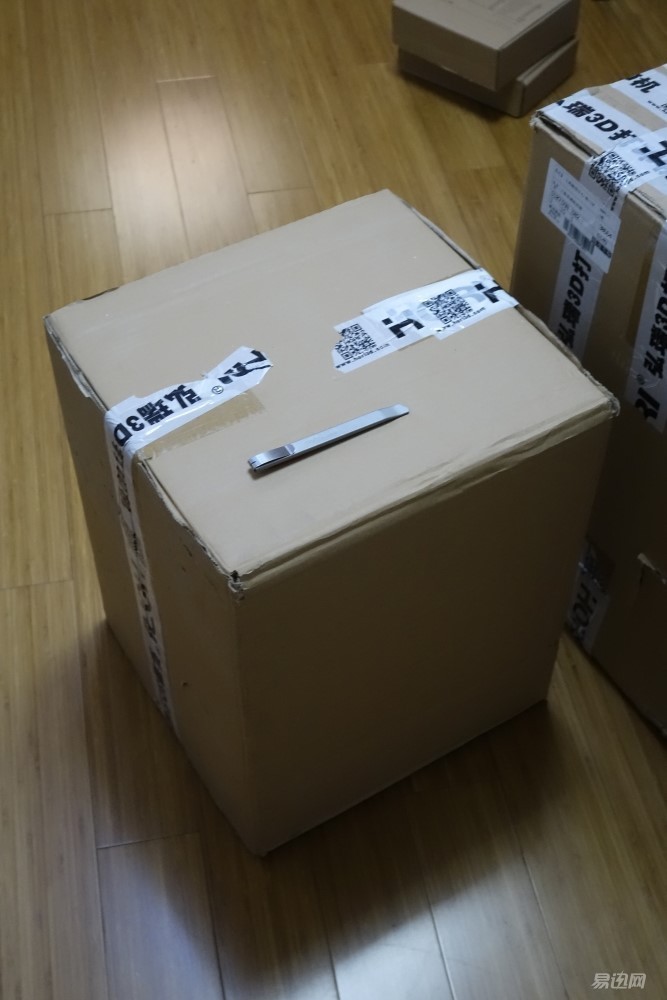
So on a certain day, as I was looking forward to it, I received a large box on schedule and placed a pack of tissues on it. Hey, let's feel the volume.
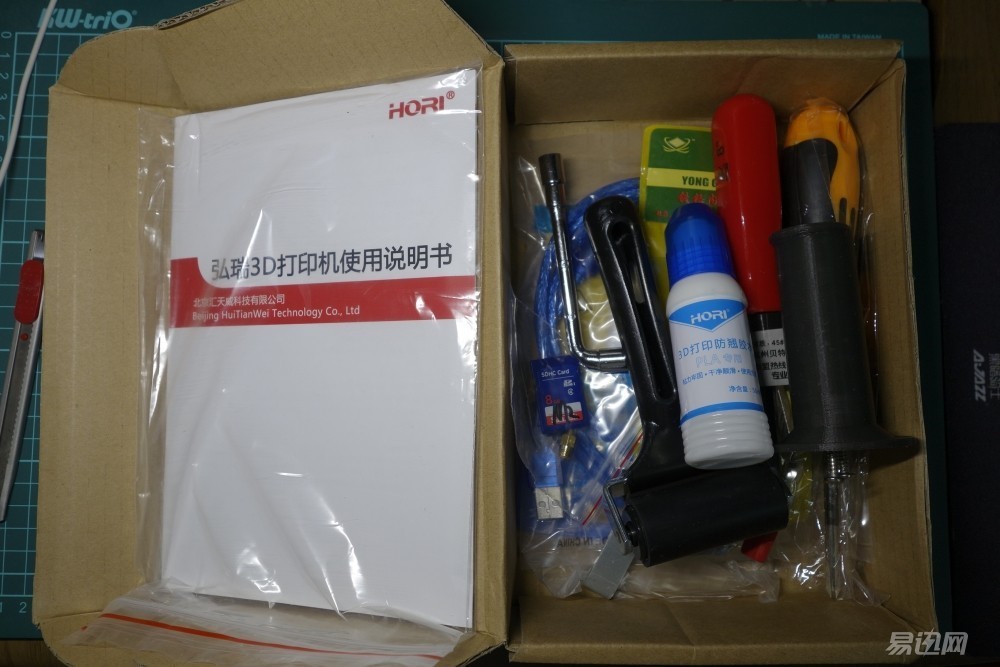
Open inside there are two small boxes
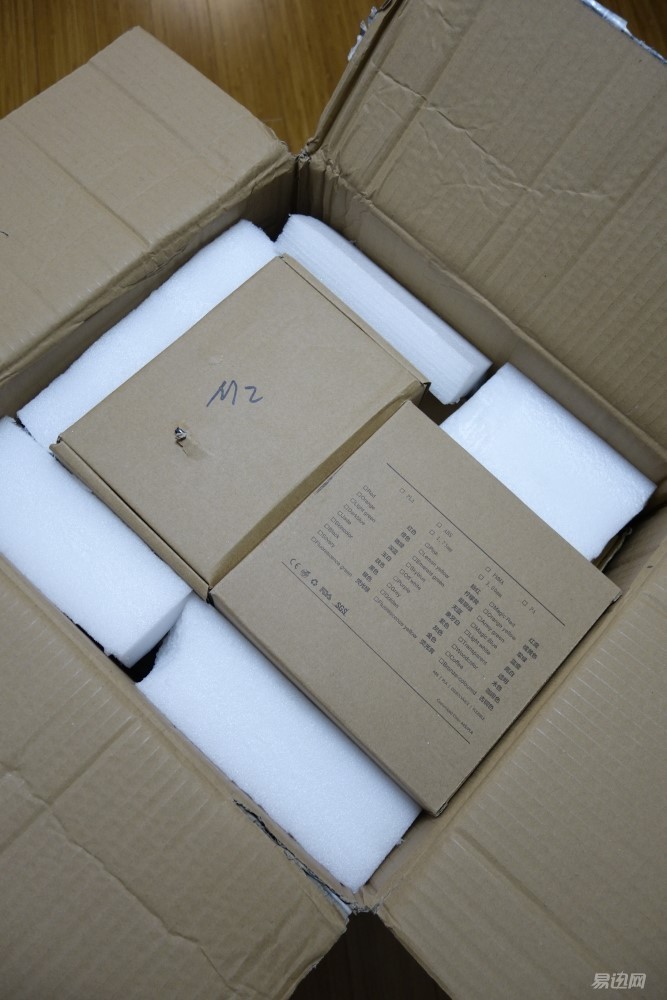
One of them is various tools and instructions.
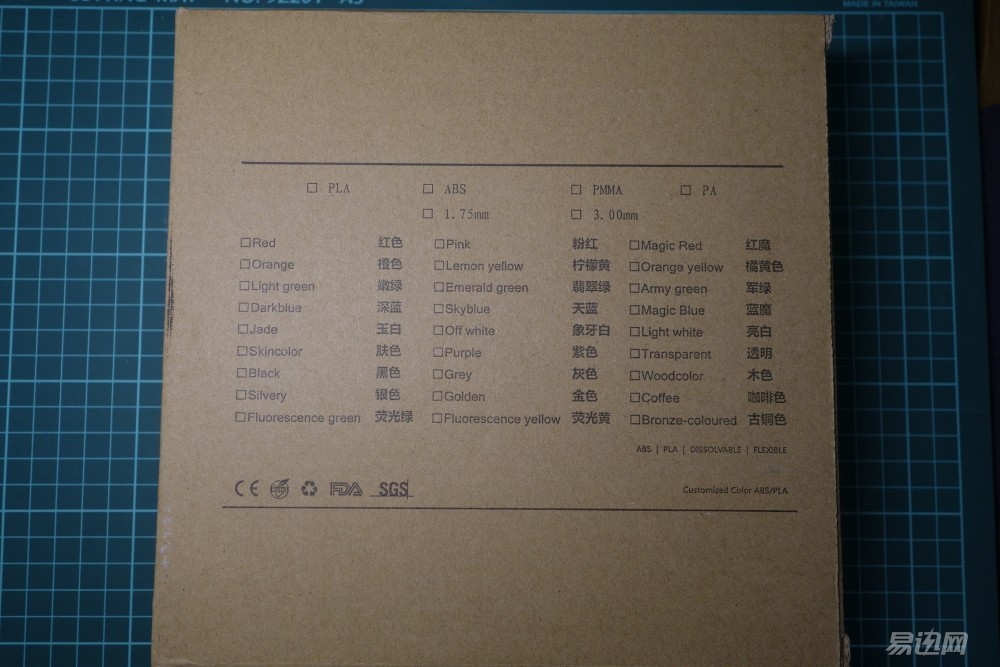
The other is a consumable supply. Fortunately, my aging mother did some homework (in fact, let her husband check), knowing that consumables actually look like this.
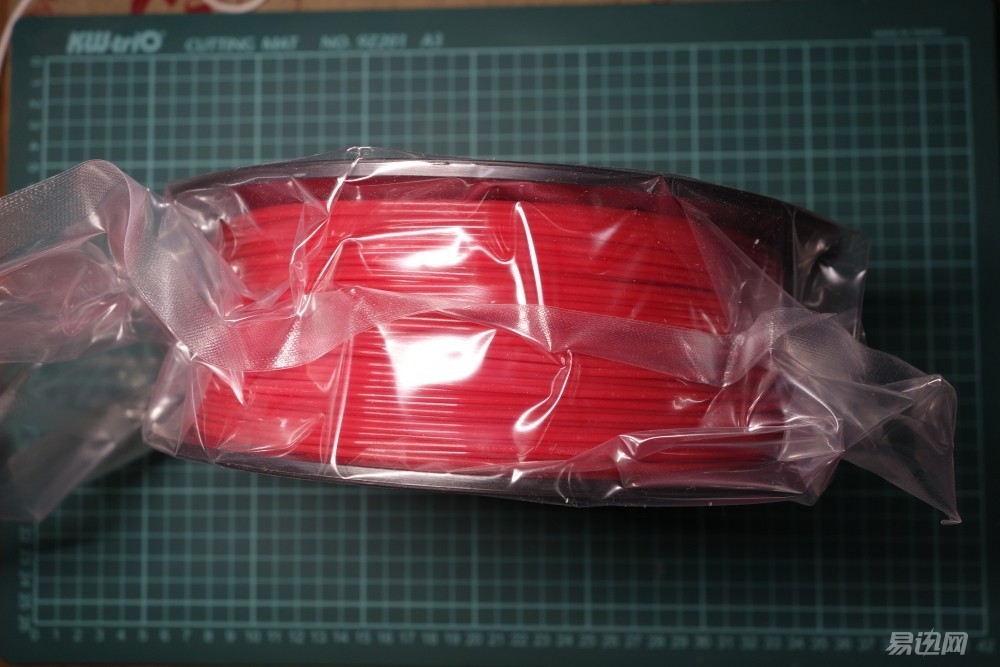
Consumables box is also marked with a lot of color separation, will also be able to play?
There is a box below. This is the deity.
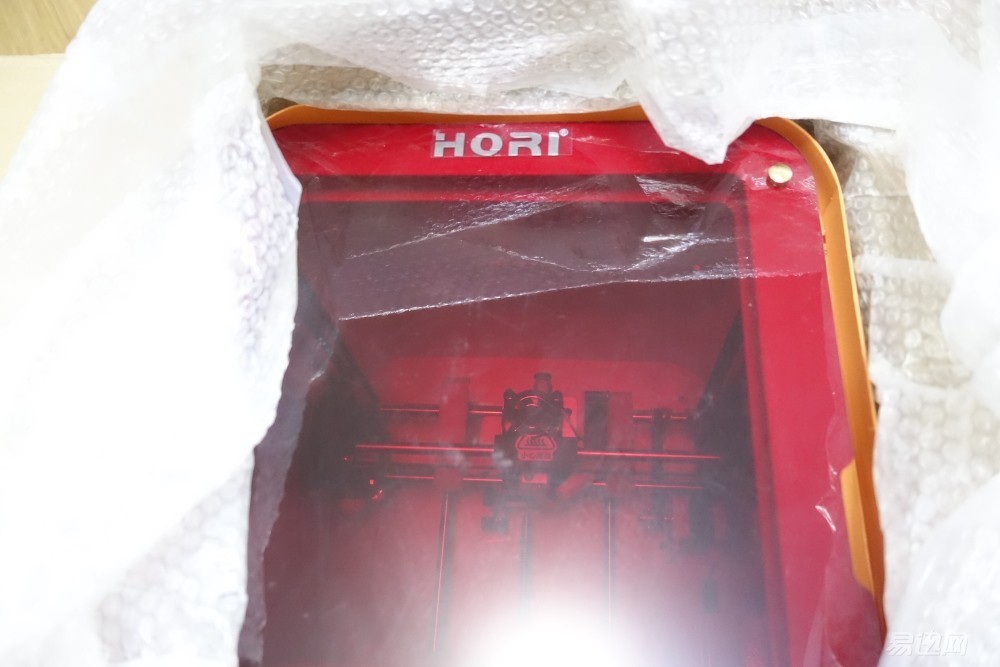
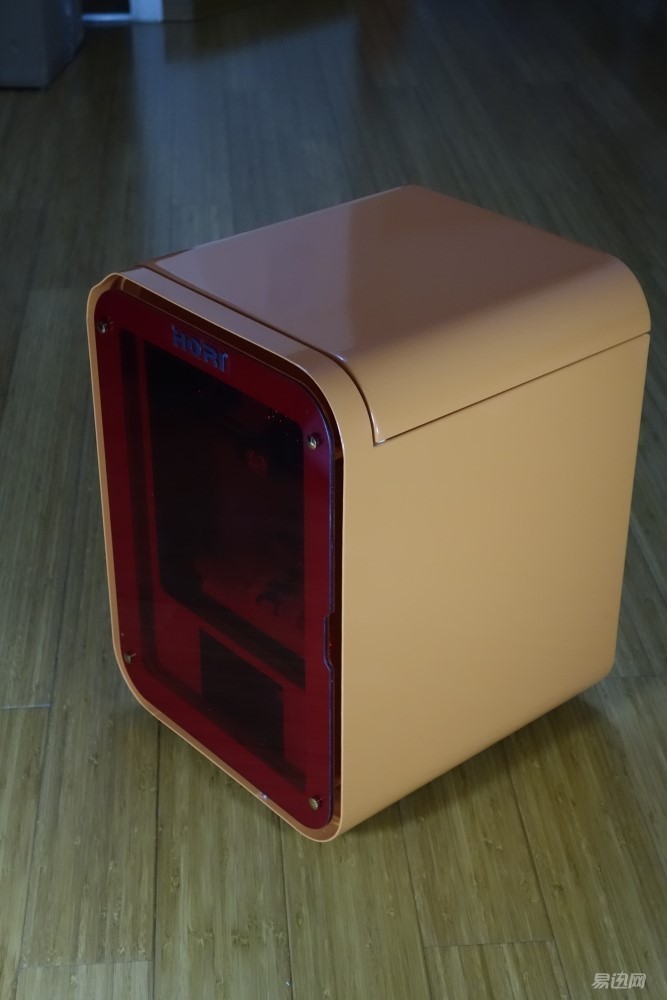
Finally out of the box, my heart was a little excited, this is high technology.
The opening reveals a bright red...
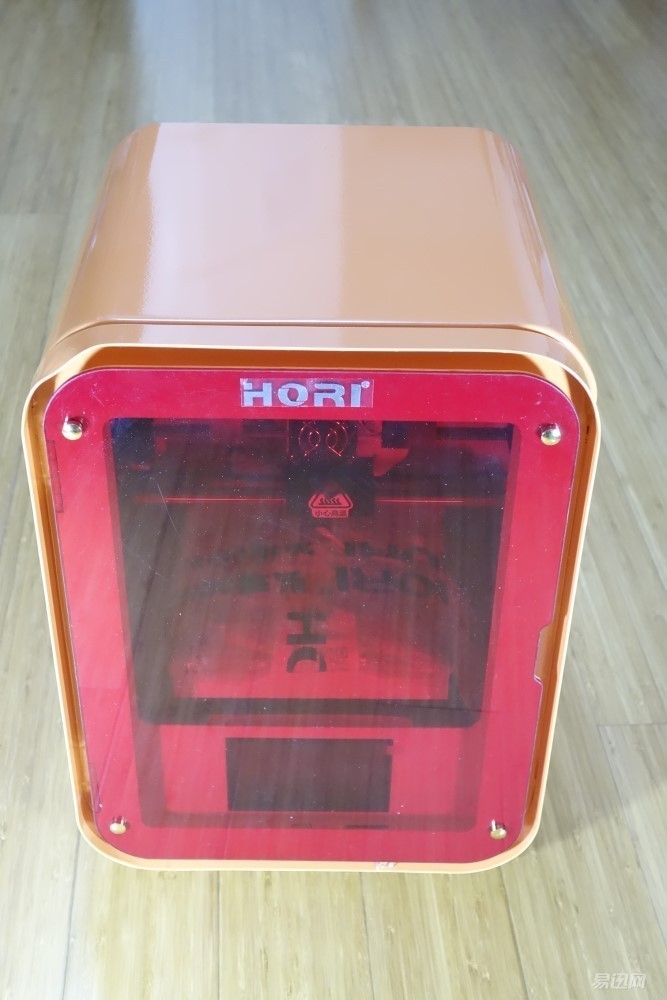
The machine is very heavy, like a promotional figure, is a box, a bit like a small refrigerator
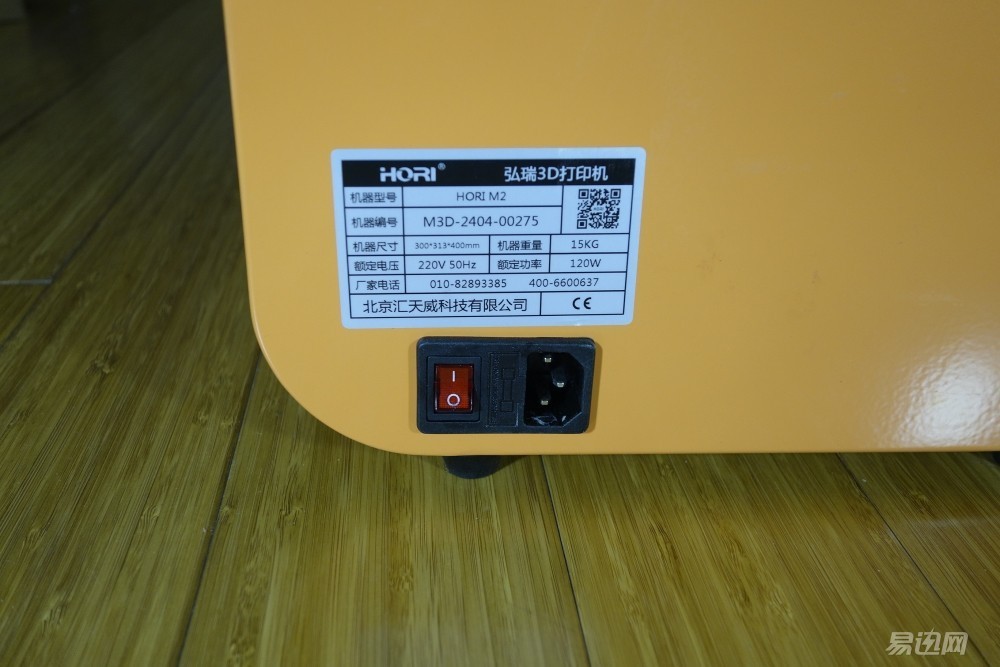
The back of the power outlet and switch, the interface and the husband computer desktop is the same
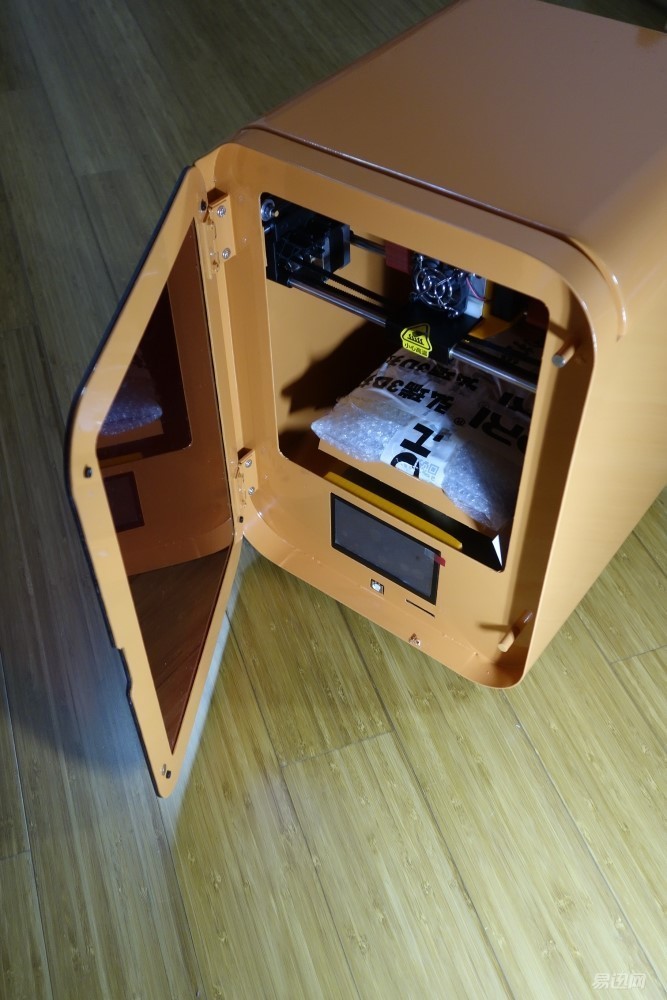
The top of the machine can actually be opened.

The front door can also be opened, there is an LCD panel below
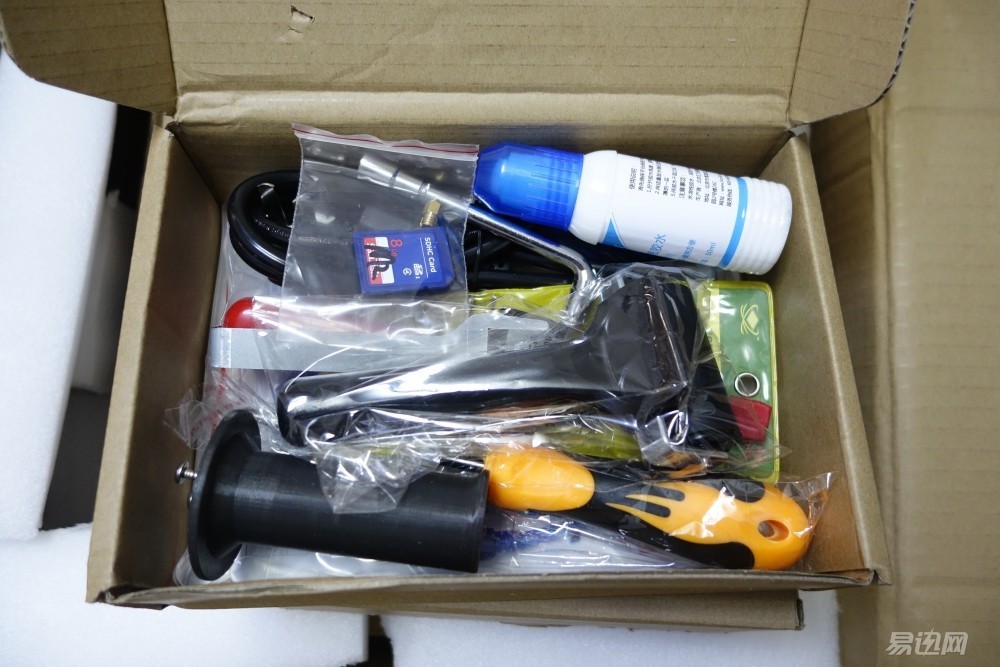
When we come back, we look at the bundled tool box. There is really a lot of stuff in it.
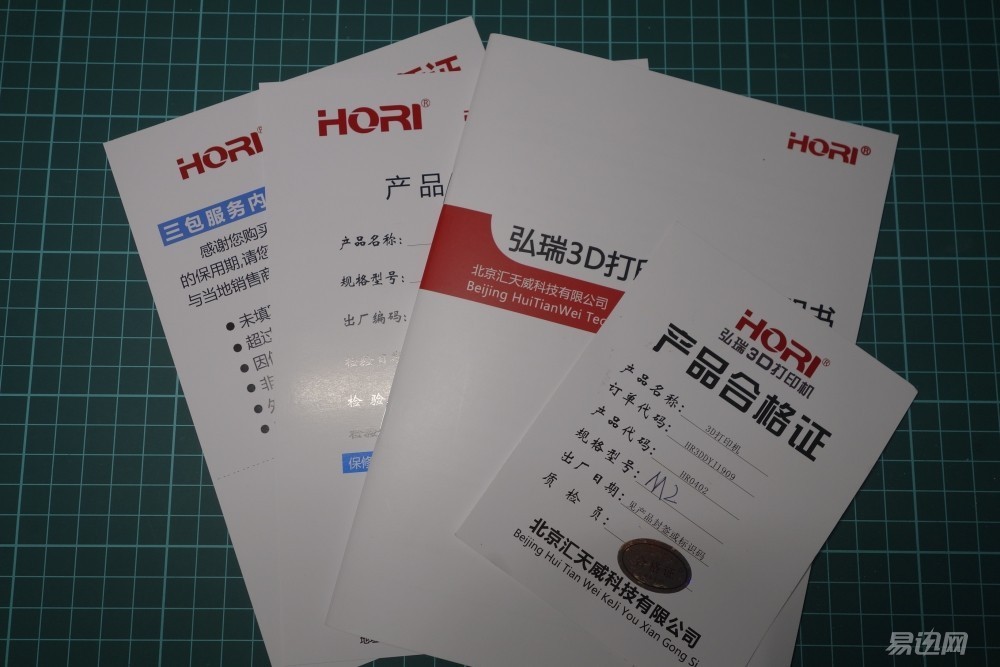
The first is the manual warranty card, as a sister paper is completely do not understand the drops, so that her husband can study it
However, it is not the mini, but the Z300 of Hongrui. The operation is almost the same, but this is really sloppy.
The tools are also much better, and all basic conditions are taken into consideration. In particular, there are sandisk's SD card (with pre-installed slicer software, test models and video usage) and a product win SD card reader. Like this!

Most of the tools inside will be used soon. Please let me slowly
By the way, the front door of the machine has a magnetic design that is very convenient
Before printing, it is necessary to remove the parts fixed by the printing mechanism for transportation. This is the red one.

The original thing itself is also 3D printing (hey, this design is not a bit high cost ah)
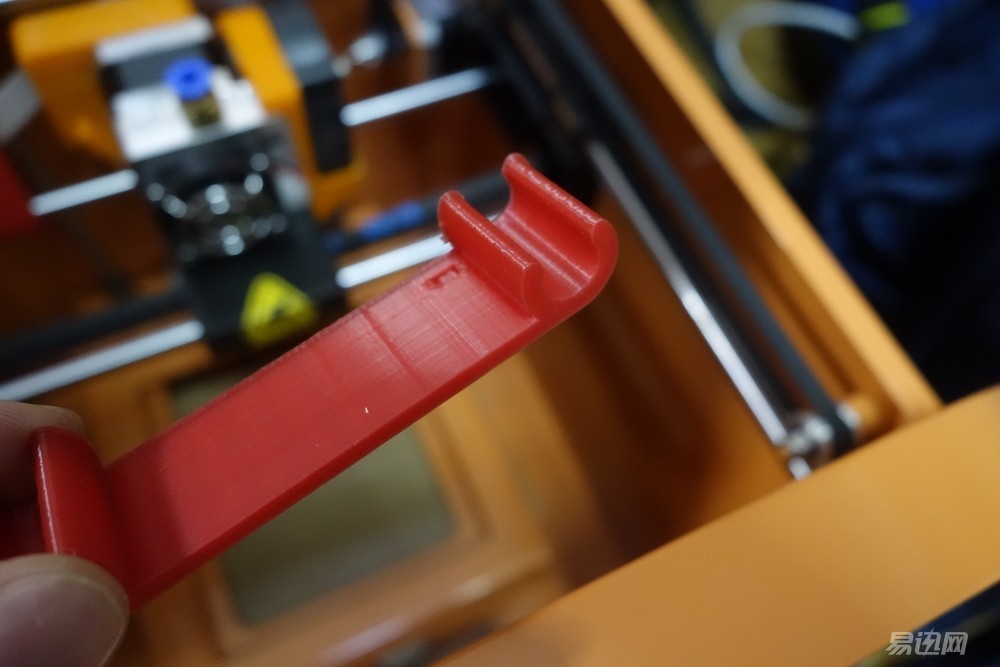
It should be noted that this yellow part does not need to be removed
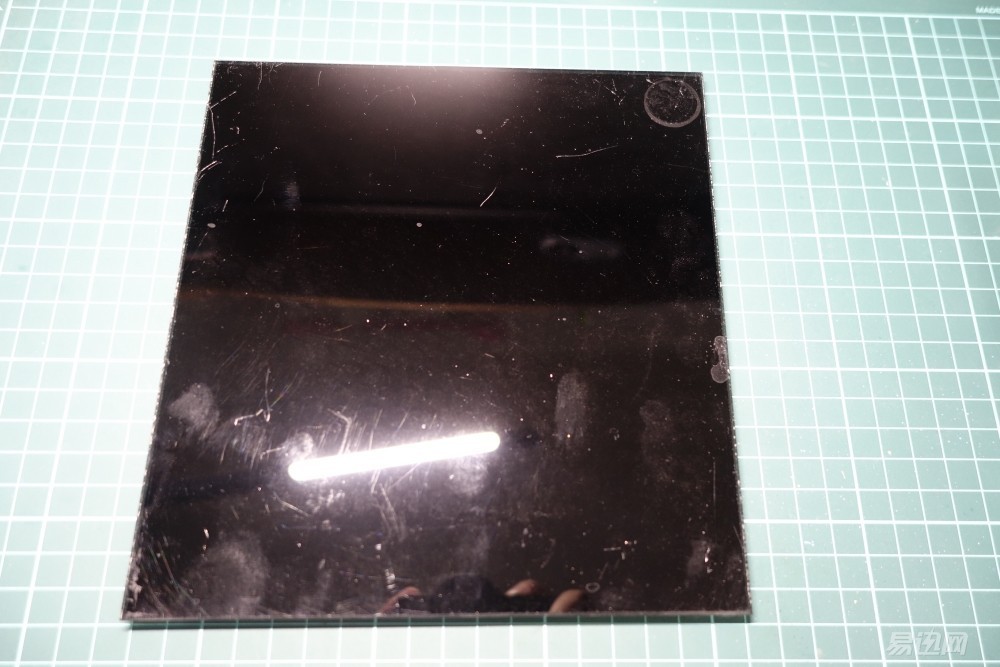
According to the tutorial, I took down the black glass chassis underneath. It was a piece of this square. It was heavy, but it was an important part of the 3D printer.
All 3D printing processes are implemented on this board
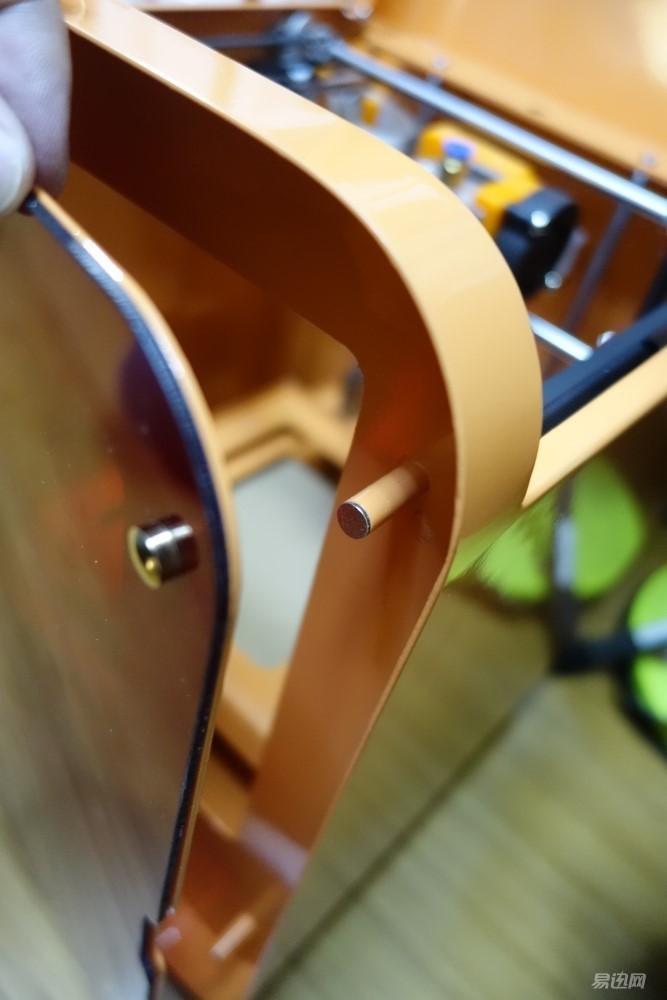
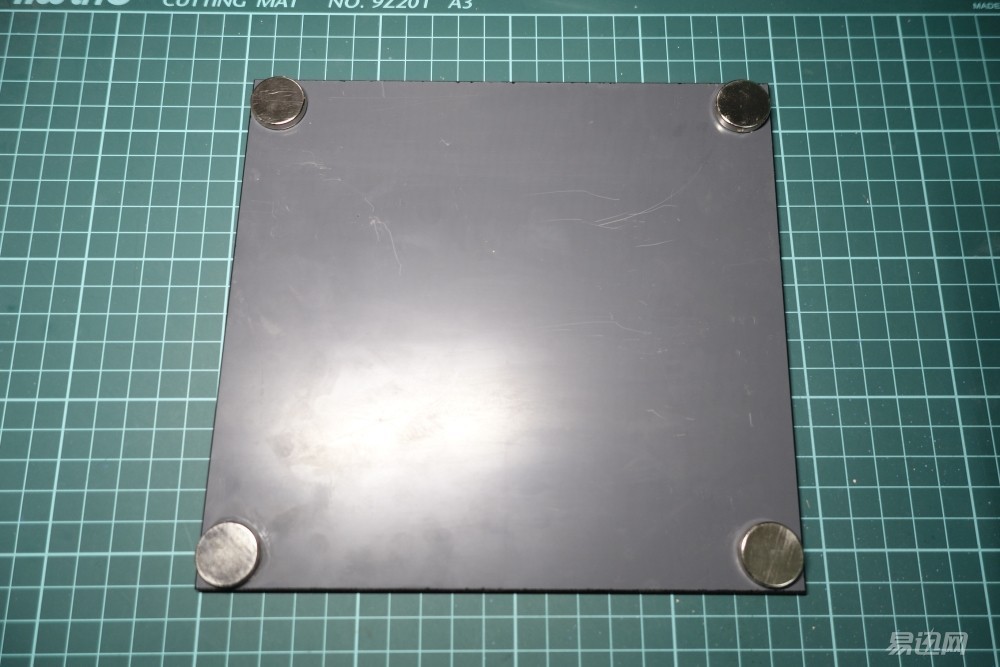
Behind the four feet is magnetic
Before printing, it is necessary to apply a special water-based glue on the soleplate. The purpose is said to prevent the model from curling up when it is heated.
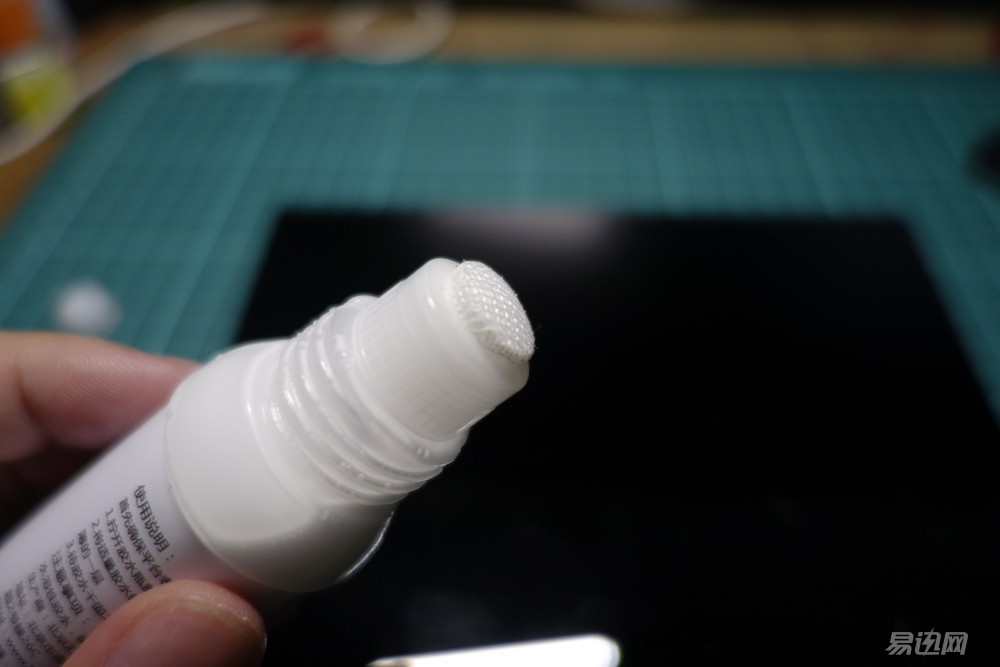
Squeeze a small beach glue in the middle

Then wipe it with the drum provided in the tool box

To cover the entire backplane, don't feel bothered. It's said that you can print several models at once.
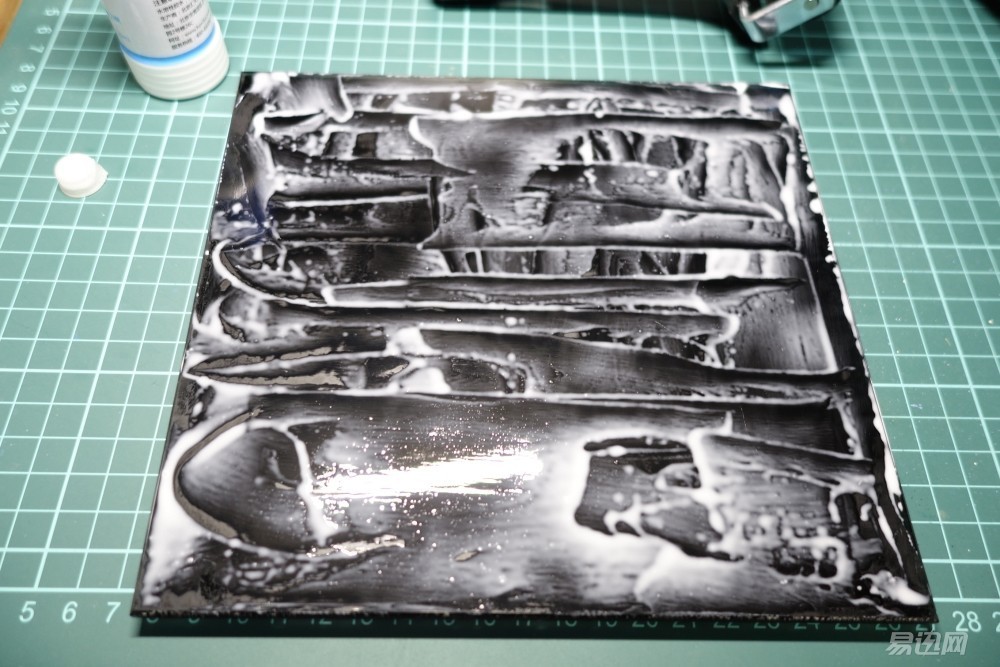
I haven't dried it and put it in the machine (I have a bit of anxiousness). After it's completely dry, I can't see this white piece. The glue will be completely transparent.

Then also need to install consumables support, first screwed in the screw from the back of the machine, of course, this kind of live to me a man, I take a photo next to it
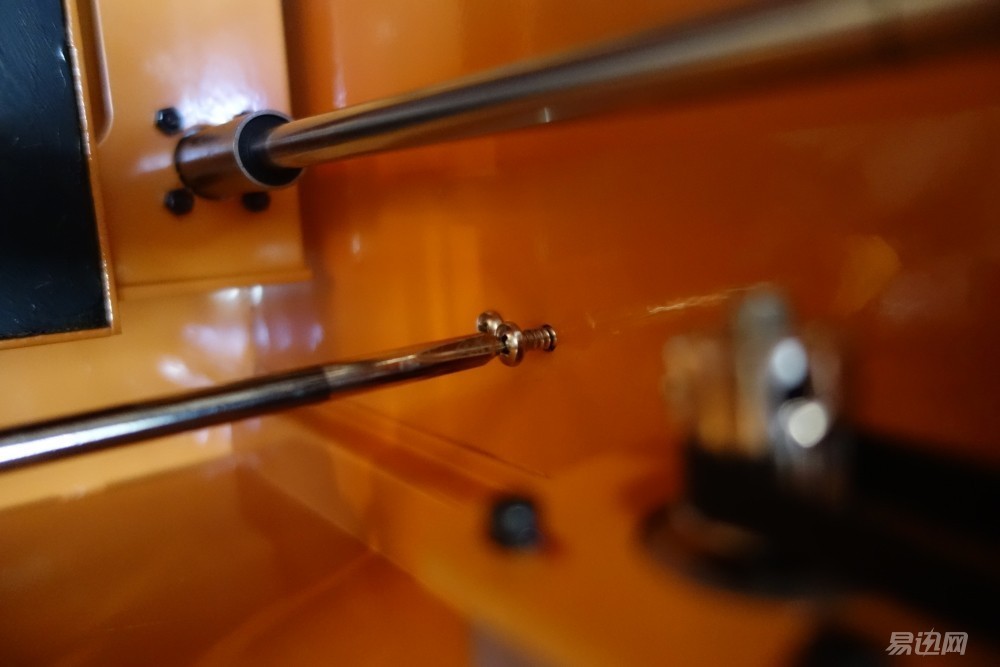
The dark thing in the original tool box is the consumable shelf. I really appreciate my own wisdom.
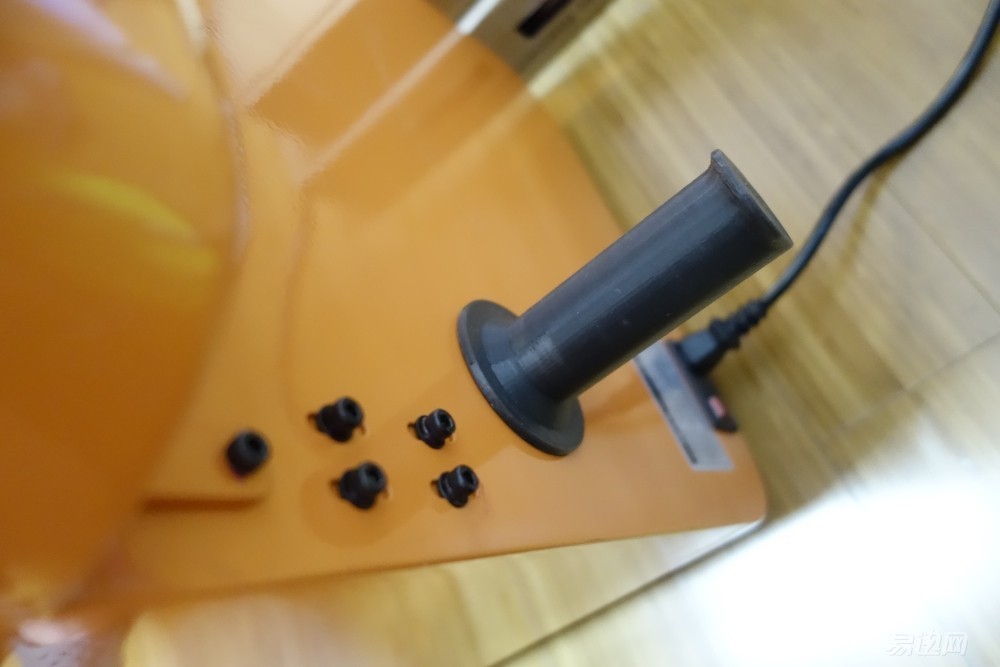
Hang up the cable-like consumables
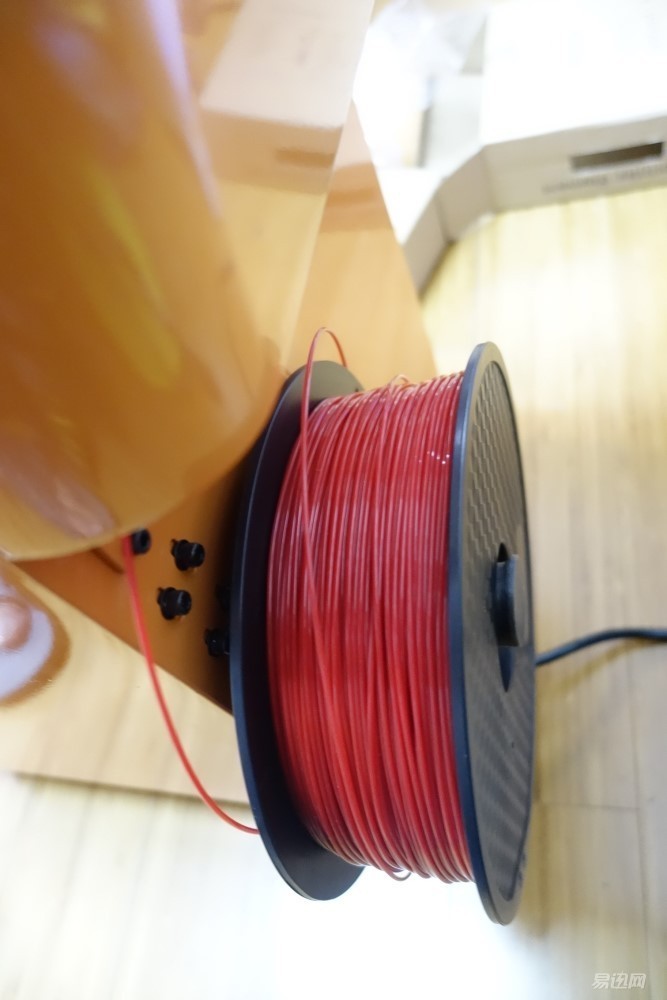
My head and my husband studied a lot, it should be from the position of the cover into the inside of the machine
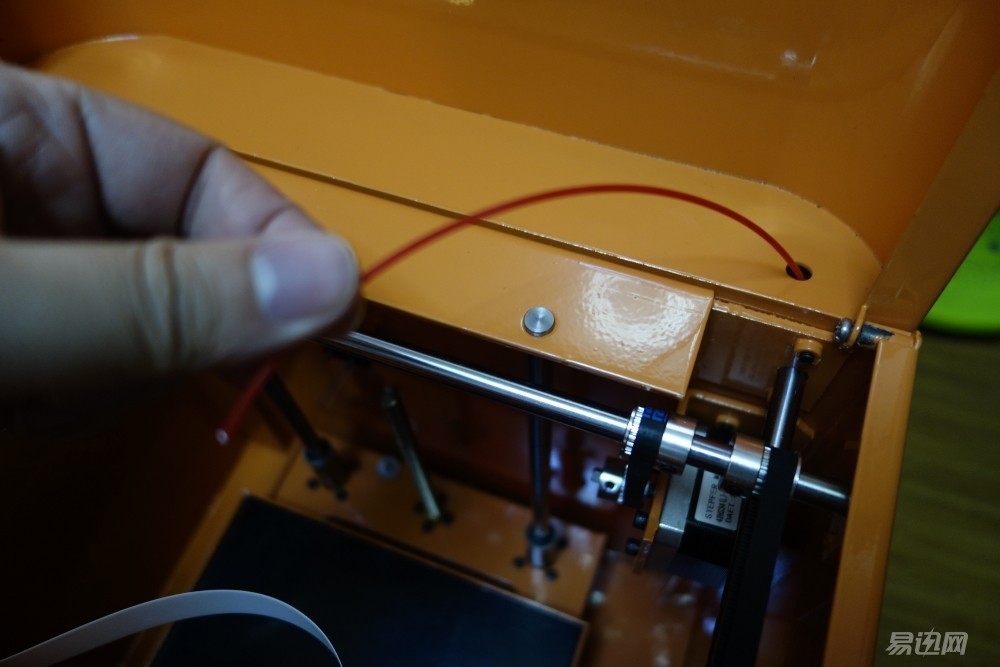
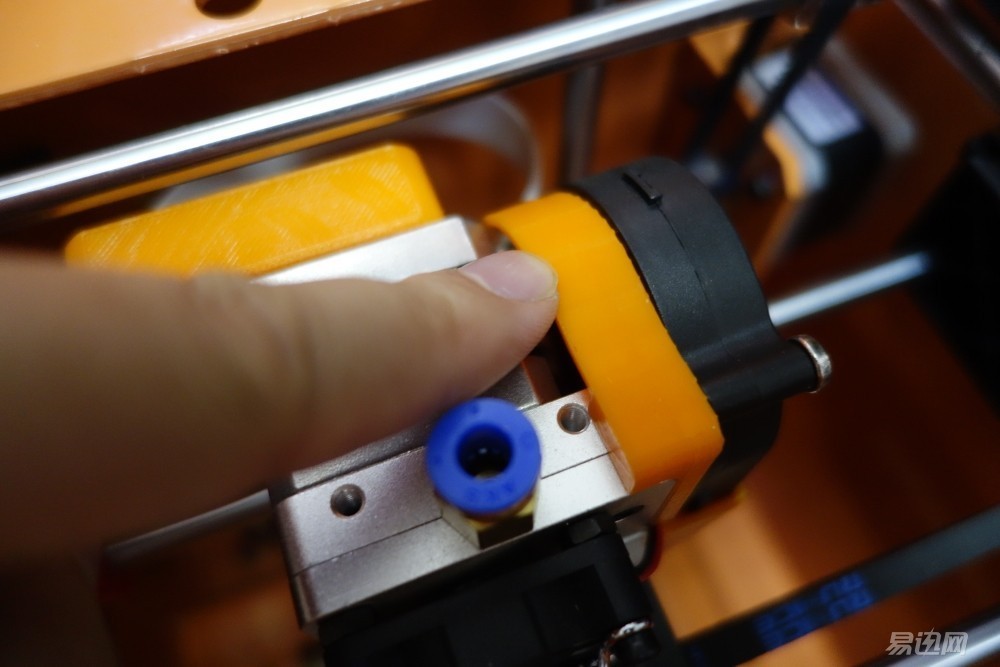
Then according to the description of the instructions and the video, insert the consumables into the print head.

Turn on the power, press the reset button on the touch screen, the backplane will automatically rise to the position of the print head, indicating that the print is ready
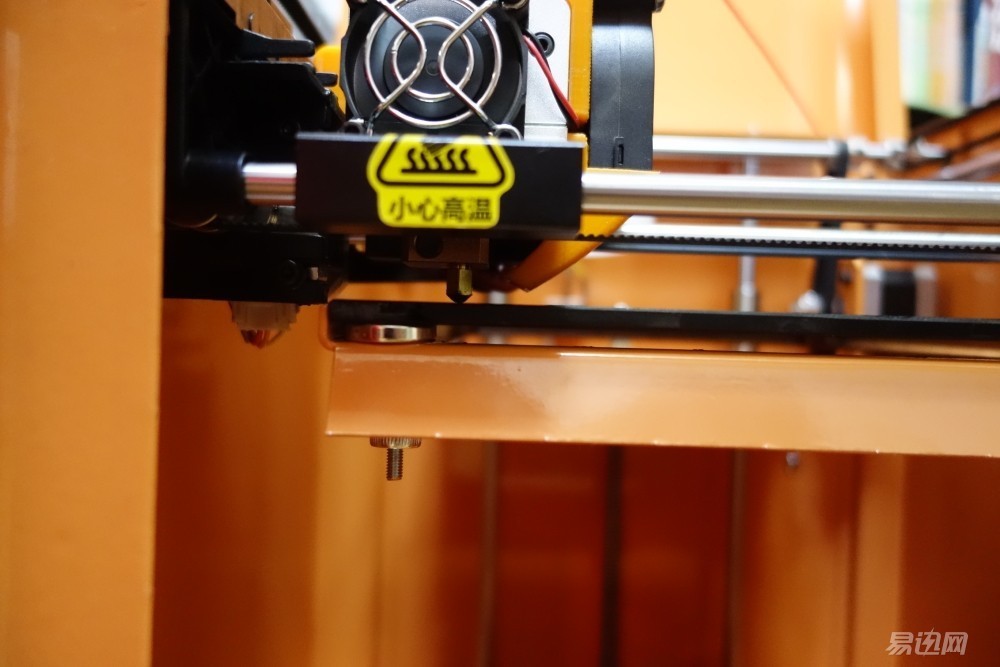
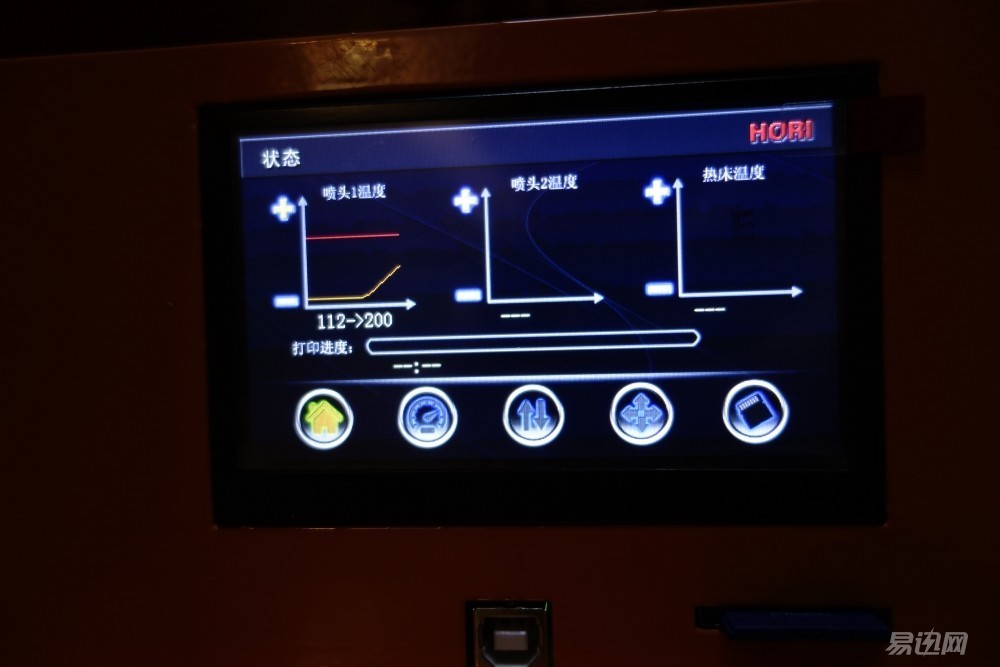
The print head is warming up on the LCD panel
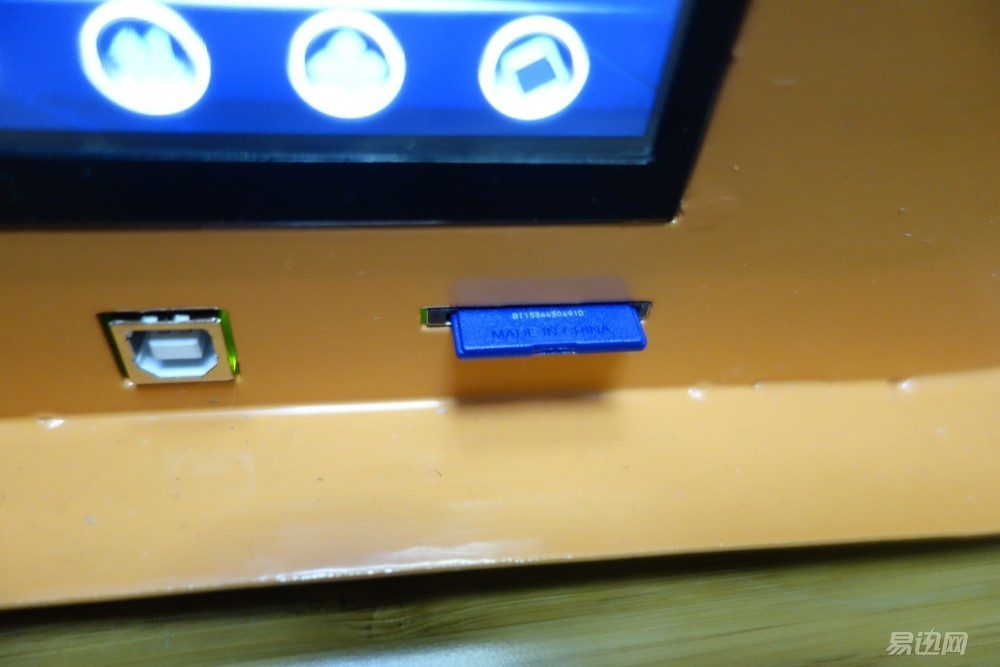
Well, I inserted the SD card, chose the test model directly, and started printing. I still don't know that the printed one is an embarrassing thing.
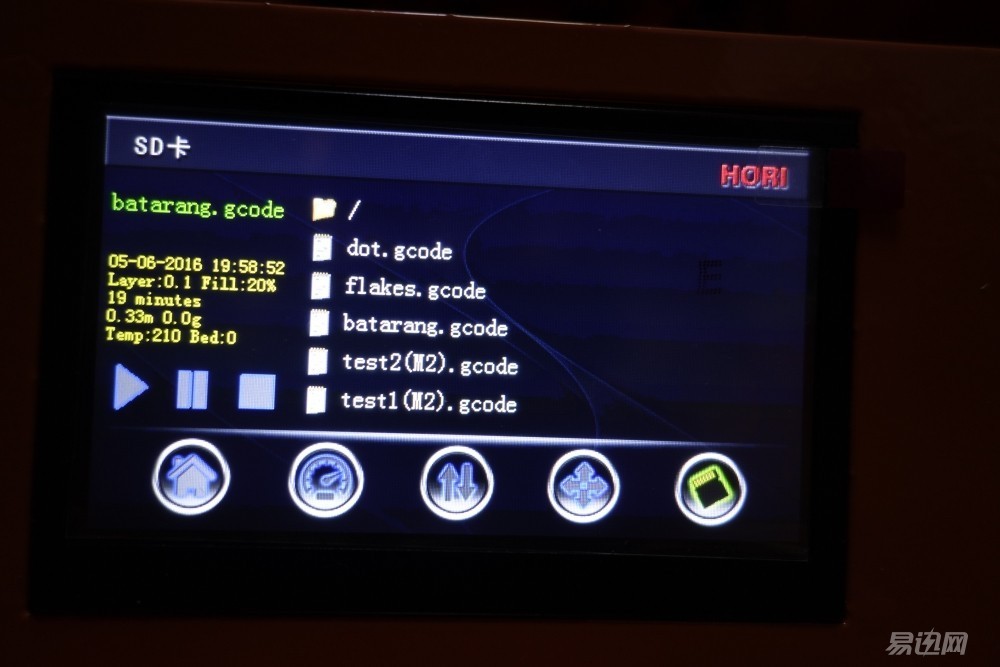
Can directly select the model file (later found only support English file name), the model extension is .gcode
The machine can display the model's print information, roughly print time, etc. Press that play button to directly print, so simple and convenient is greatly beyond the landlord's expectations: this high-tech stuff should not be very complicated ?
Printing began, the machine was buzzing and the noise was still loud, because the printing process was quite long, so consider the rest of the family, and consider the soundproofing problems of the machine before printing.
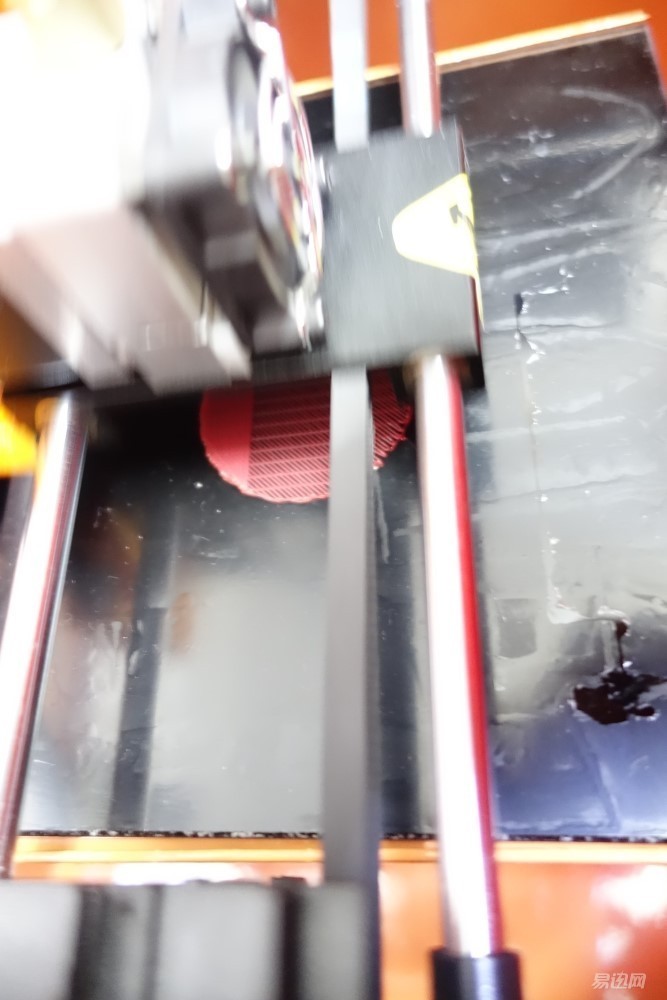
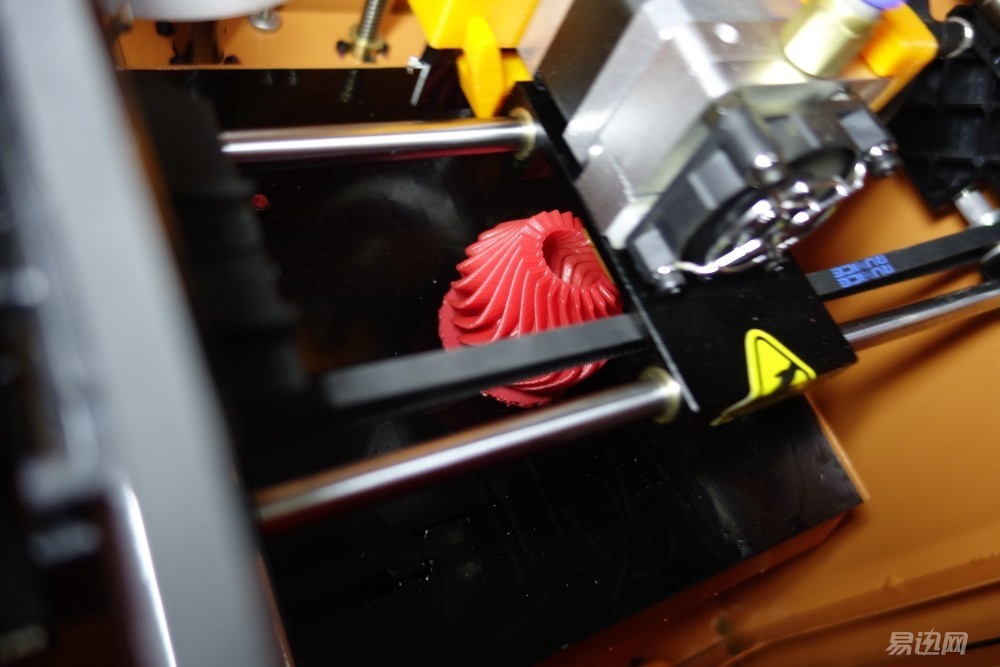
Enjoy the printing process throughout, as both the top and front covers can be opened at any time
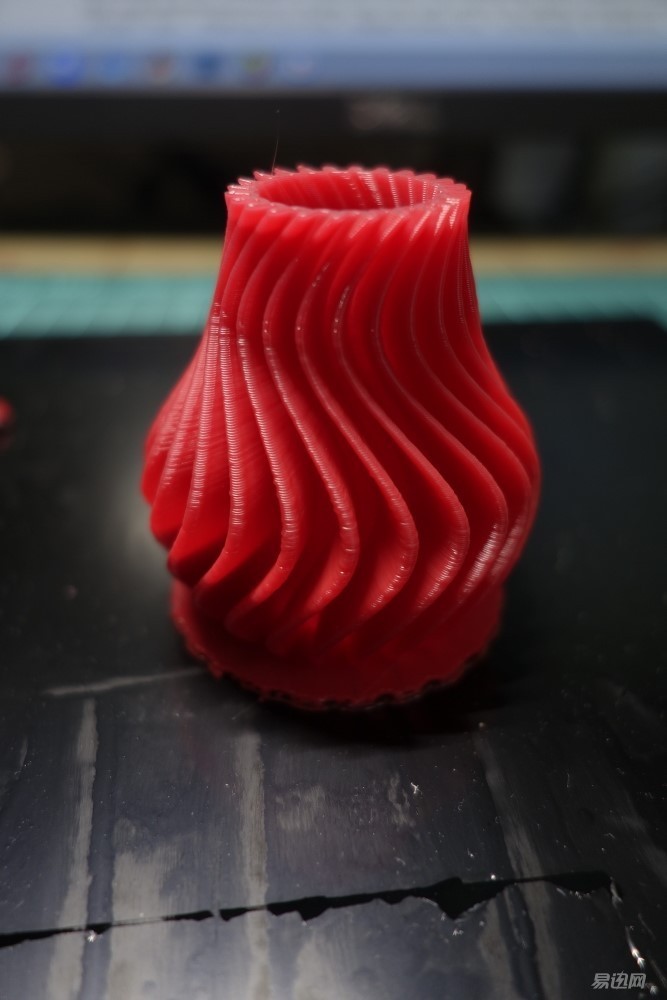
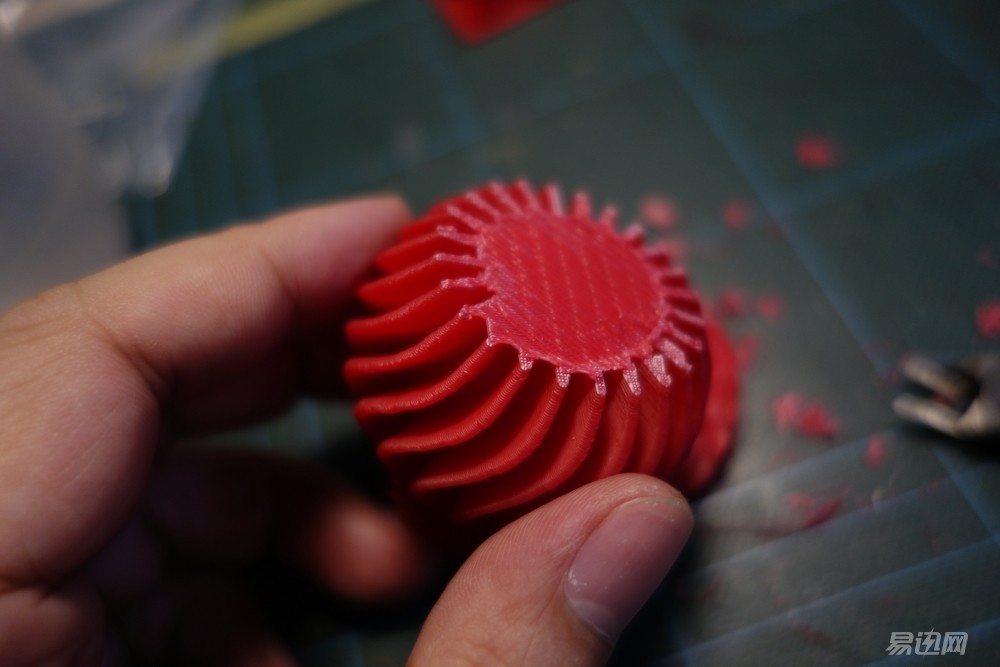
Slowly formed, it turned out to be a geometric vase, interesting!
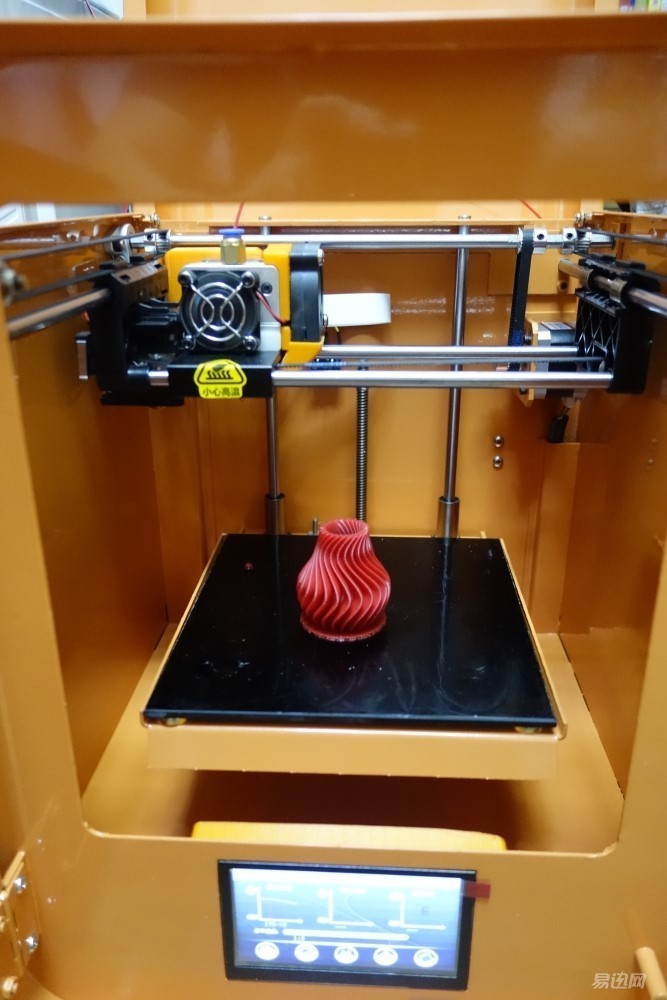
About 50 minutes or so, the print is complete! ! The mood at this moment is so exciting, the first 3D printing attempt in this life is successful!
Taken together with the base plate
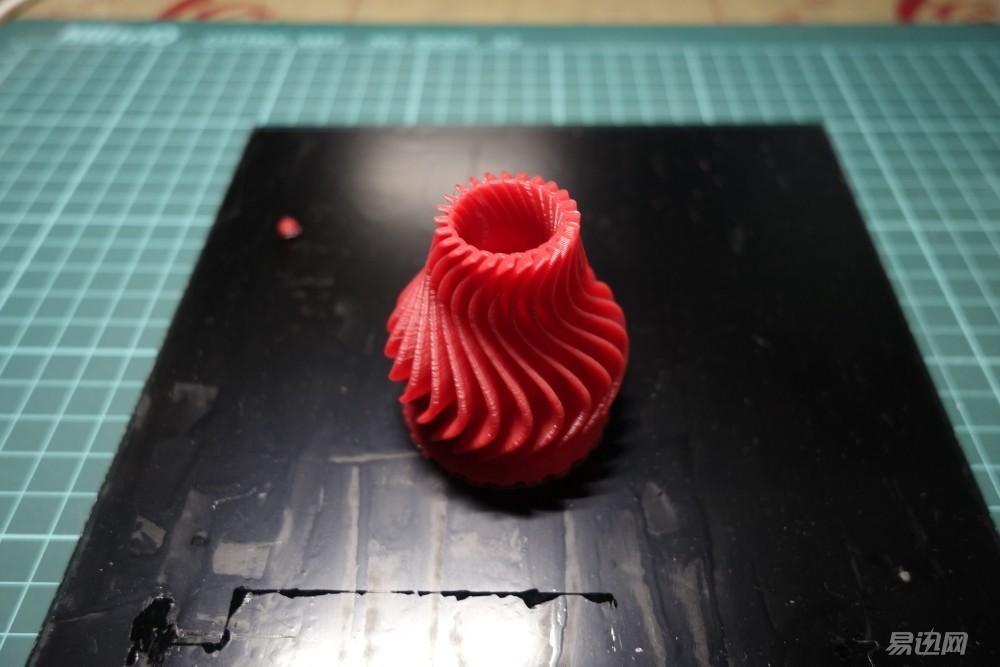
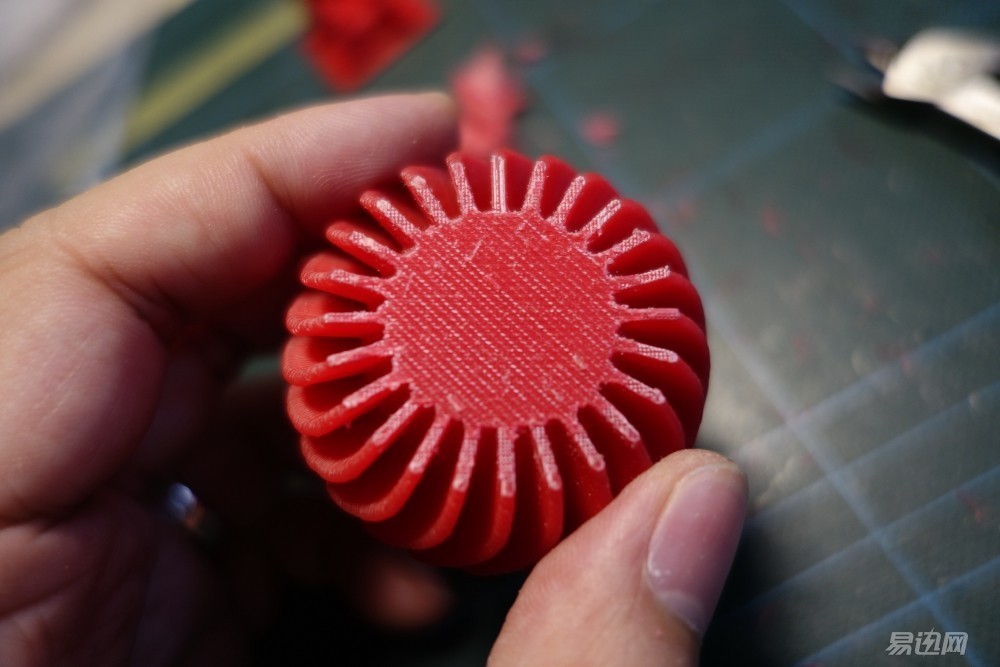
Look closely, although a bit fine lines, but considering that this is a desktop printer can not be avoided, it is still acceptable
The geometric pattern has a kind of indescribable beauty
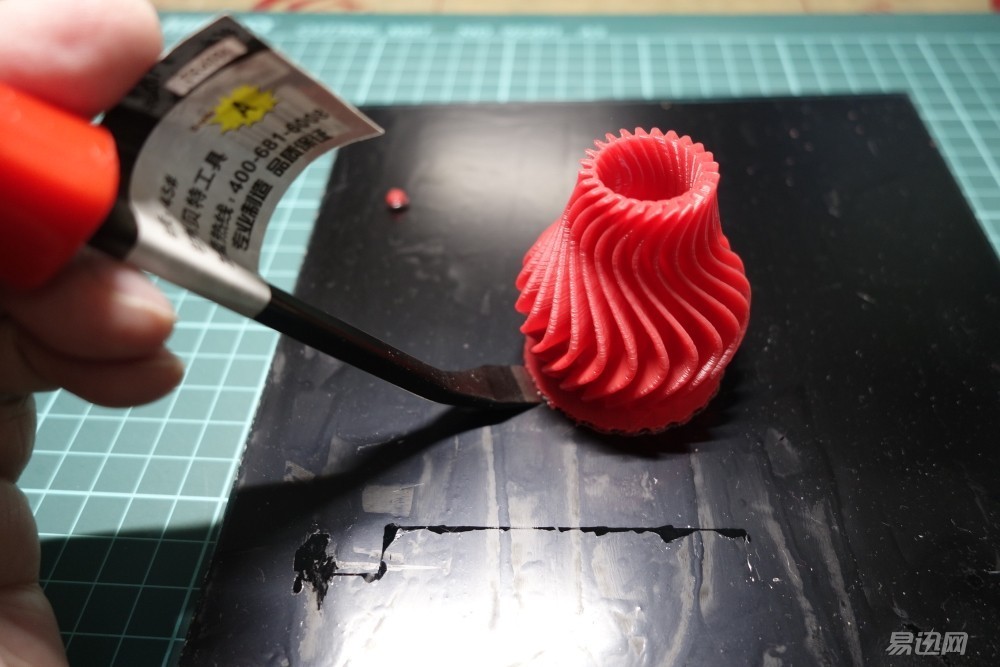
The model and the bottom plate are a little tight, and immediately pull the model down with a crowbar in the toolbox.
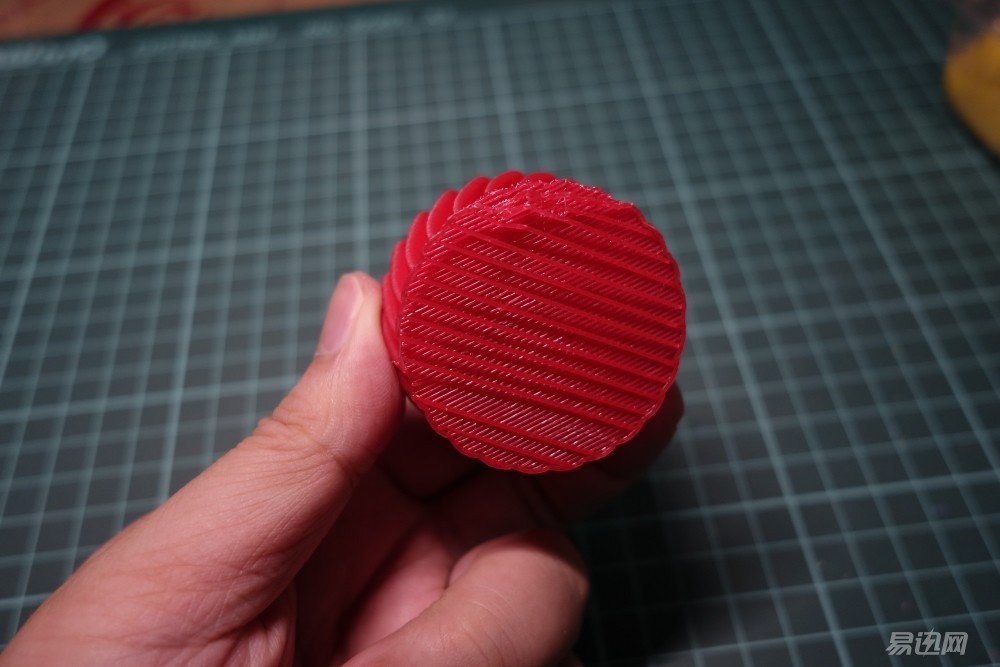
The bottom can see the path of the print head
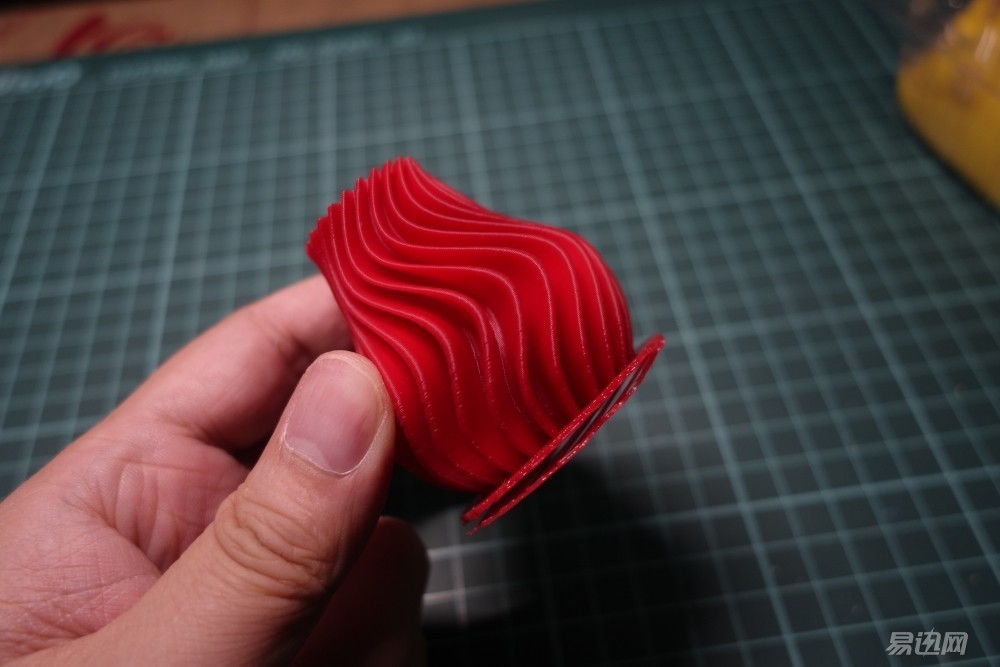
side
After the first successful attempt, the landlord will certainly not be satisfied with the print test model
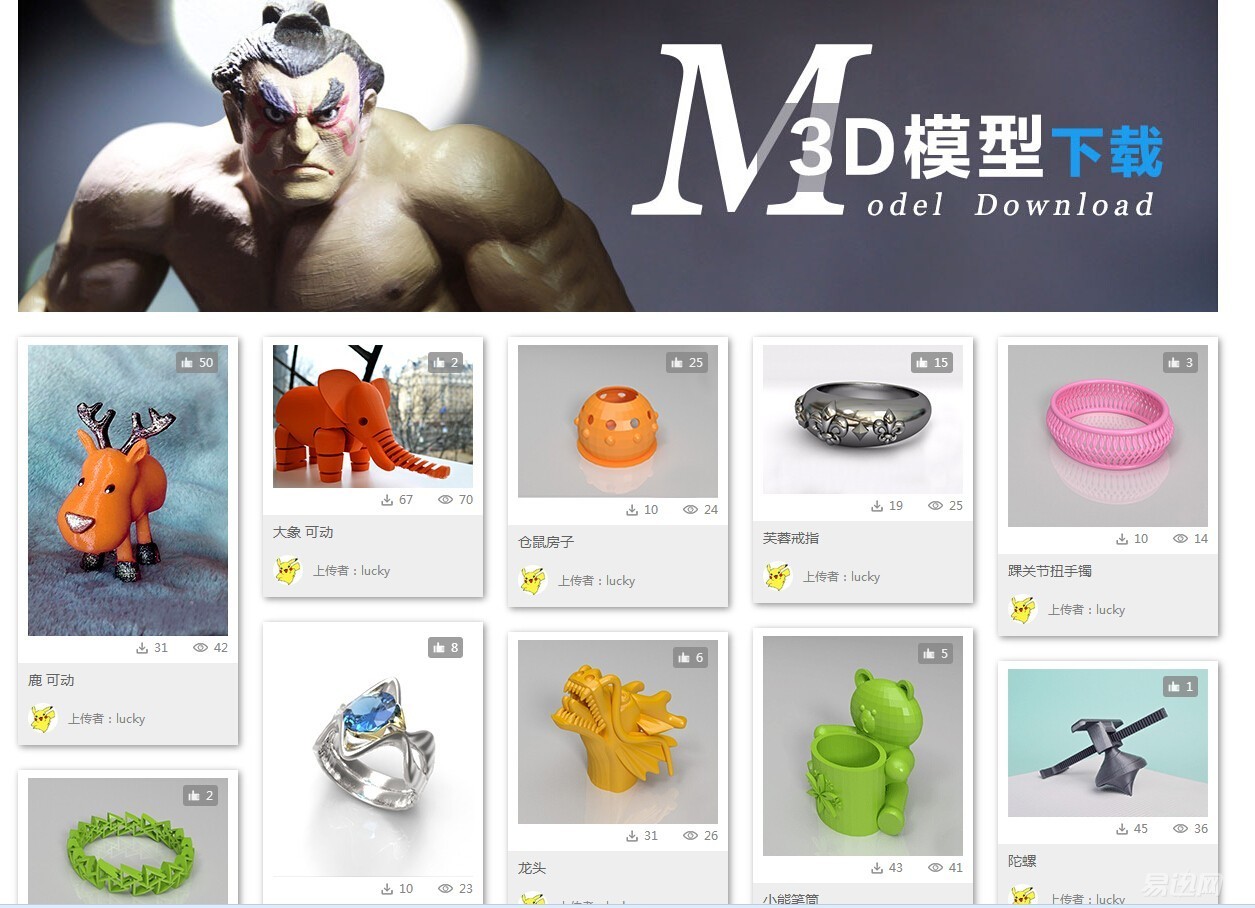
There are a lot of free print models downloaded online. Under a little search, you can learn that there are many interesting categories: toys, architecture, artwork, dolls, tools, industrial models, etc.
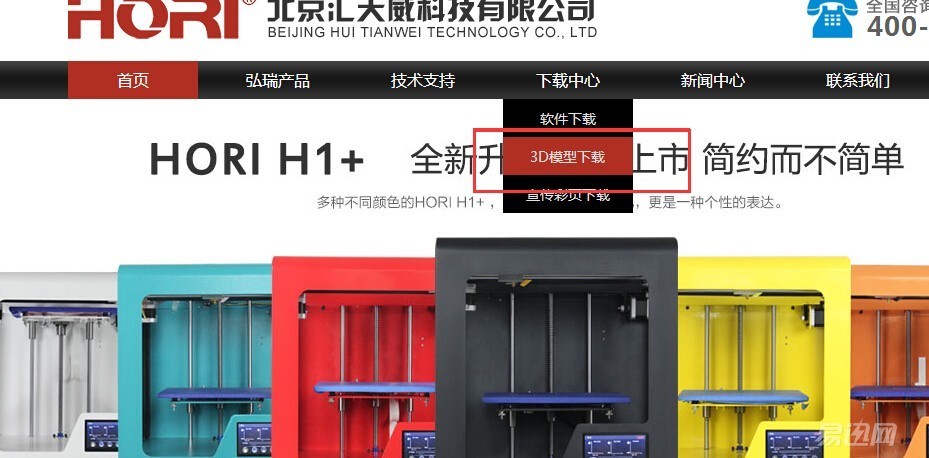
Directly click on Hongrui's 3D model to download, the number is still quite a lot
Click into it, there will be a large number of free models uploaded by users
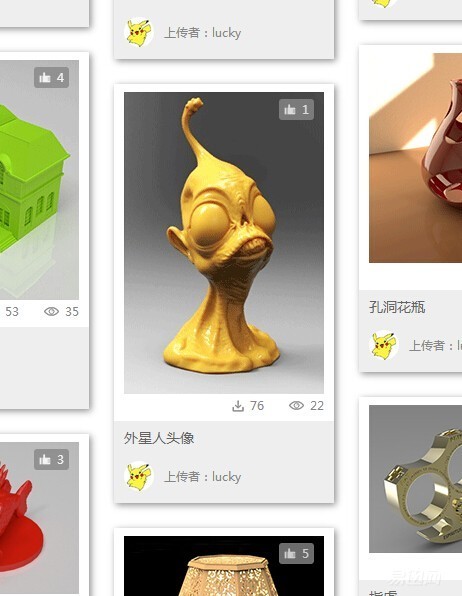
This time, the landlord at a glance in the phase of the alien's head, so immediately download it, the file is not large, will get it in a while, is a .stl format file
Then don't forget to install the slicing software in the SD card on your PC. This software can convert your downloaded modeling into a file that can be recognized by the 3D printer.

This version is still Hongrui custom plate, which has built-in Hongrui various models of printer parameters, as long as the mini model in the model can be
More importantly, this software is Chinese. If you click Upgrade, it will become English.
Use software to open the downloaded alien model, wow, big, gray means the printer's print volume is exceeded, so we have to click to zoom out
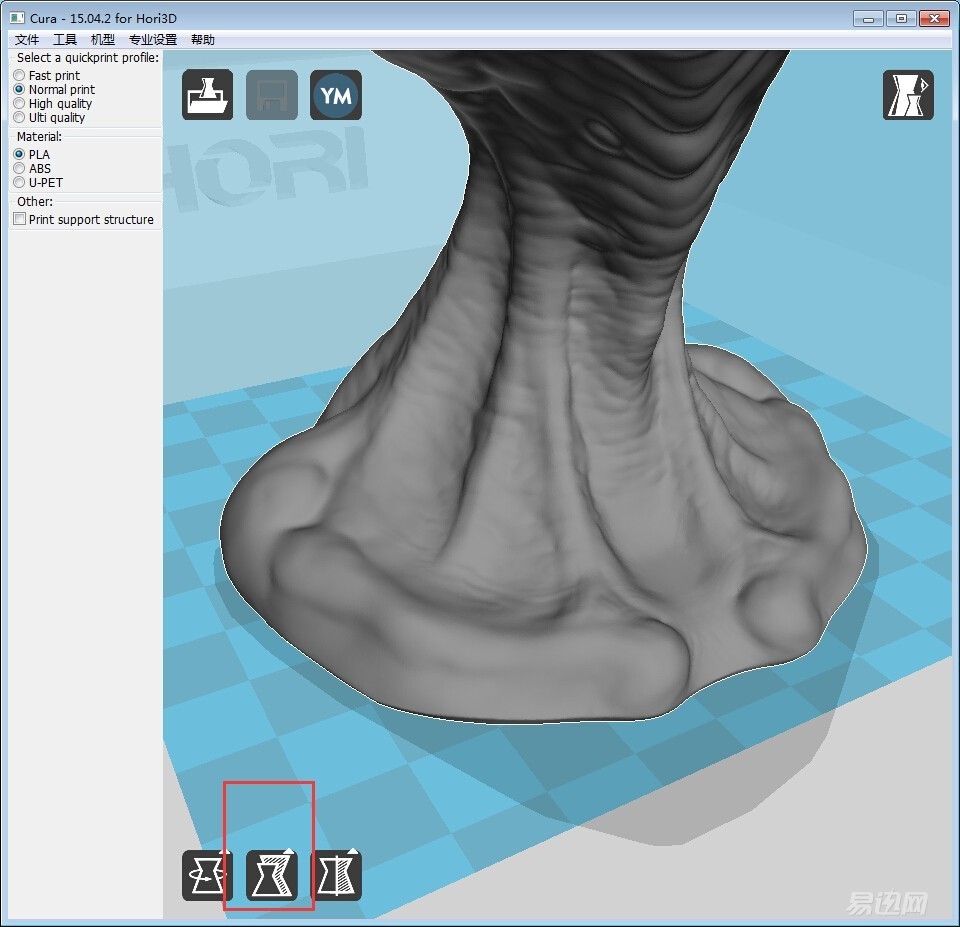
The flew model is reduced to the maximum size this mini model can print, yellow!

But it's still a bit big. Let's shrink it a little, otherwise the printing time will become very verbose
OK, get the output to the SD card, very convenient, fool-like operation is suitable for me this kind of computer white

Don't look at this little avatar. It takes more than 2 hours to print with ordinary precision.
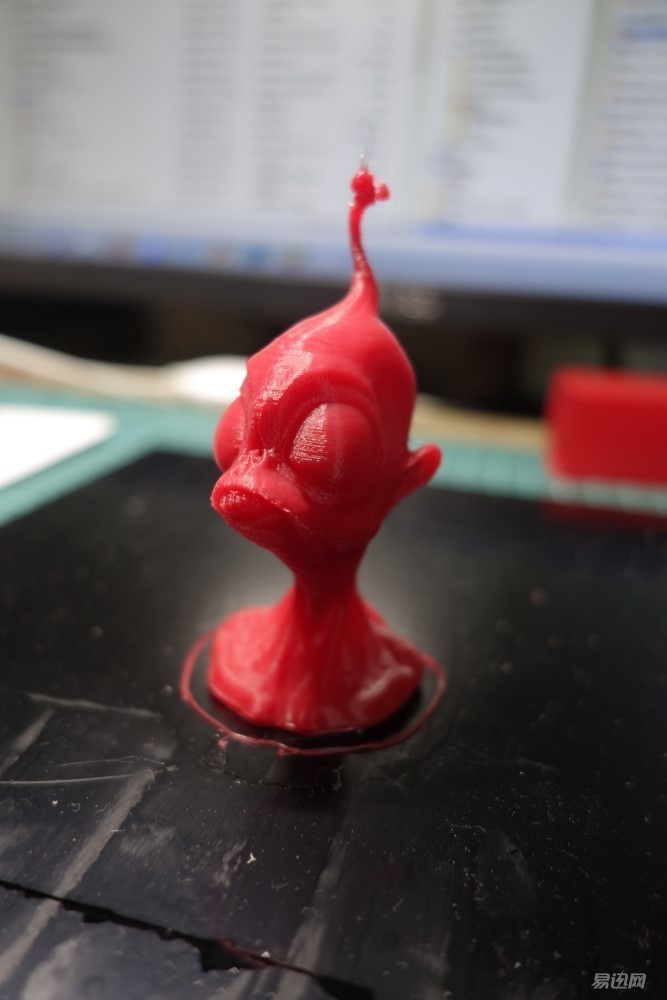
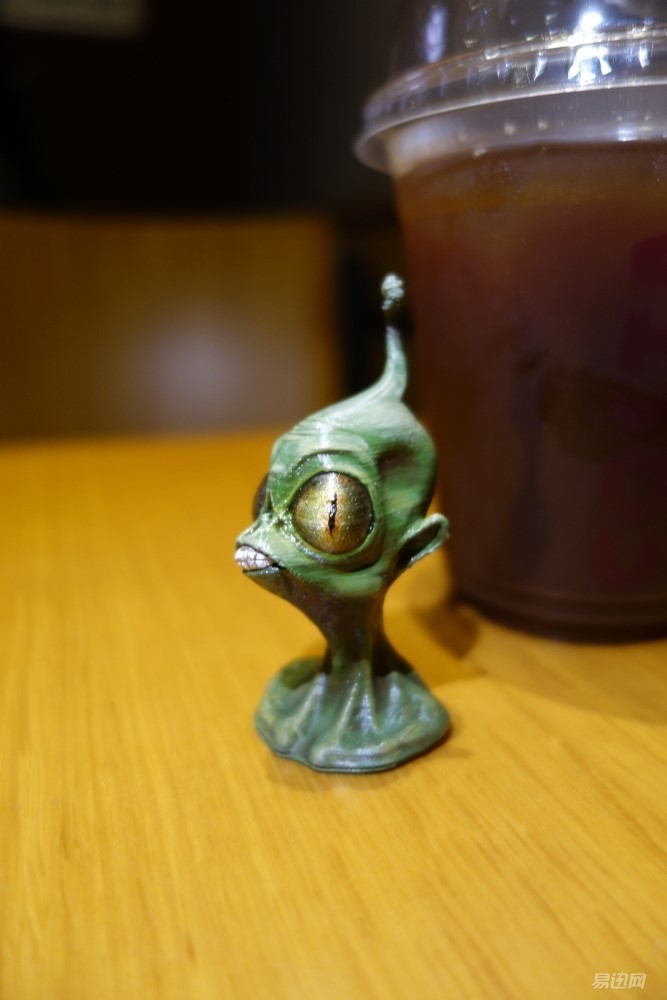
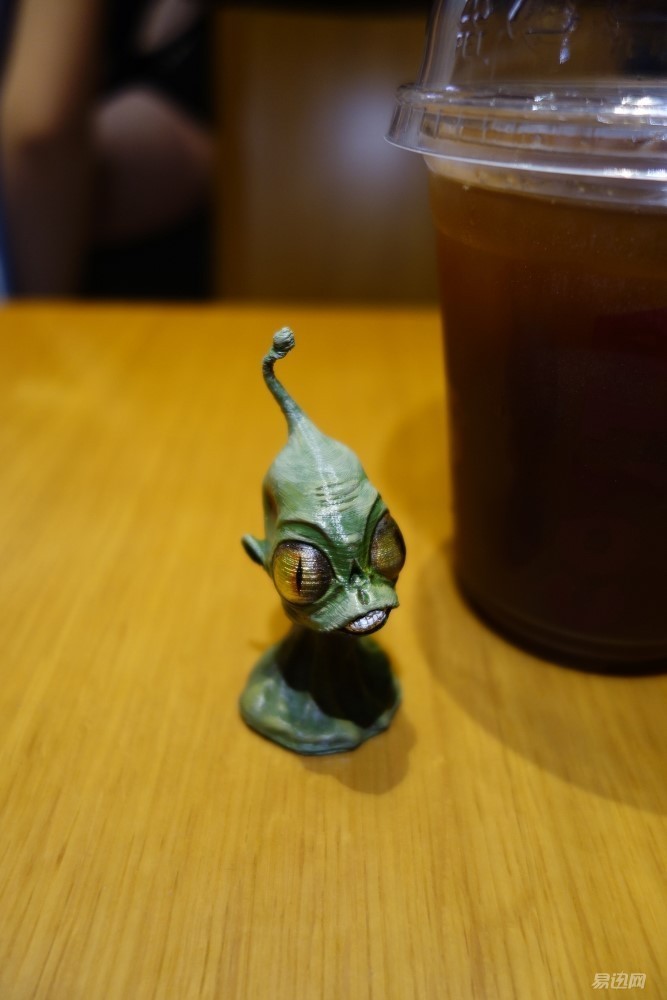
The overall effect is amazing

The antennae on the top of the head are awkward, which means that when printing small parts, it is still a bit difficult

There was a slight support behind the ear and I carefully removed it with a pencil sharpener

Another success made me ecstatic and immediately printed two small things
The Iron Throne in the right game takes 2 hours

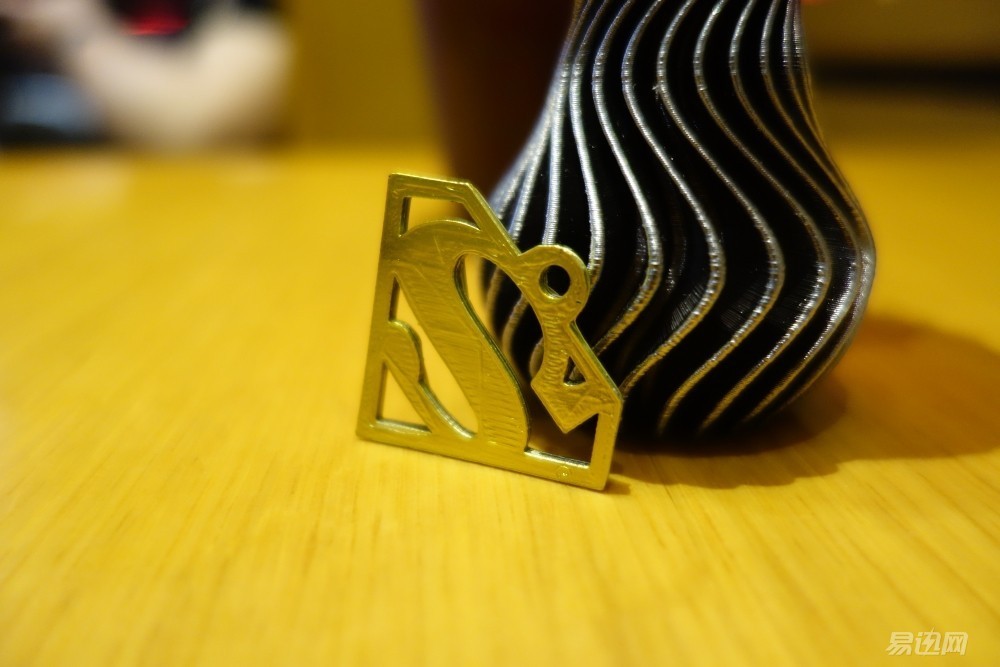
Superman logo pendant, took 15 minutes


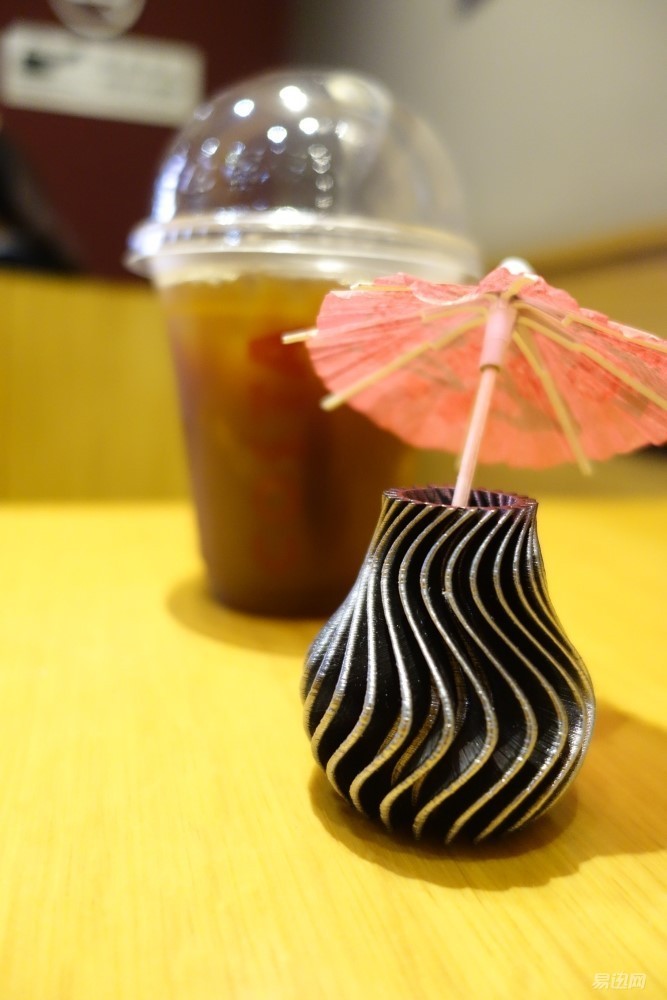
Finally, the unwilling landlord also tried to paint these 3D models. Let's take a look at the final results.
This geometrical art effect of the small vase is of course quite metallic
Clean the bottom before coloring
After coloring
The Iron Throne must also look like iron

Superman's pendant looks good. Will you hang it around your neck?
Finally, it is an alien, you must be a little green man ah ha ha, saying recently read Warcraft movie, do not know if it is affected by this.
Landlord also painted a cat's eye, look good?
Trial experience:
Hongrui’s student used a portable 3D printer, the Hori M2, which is still quite heavy. It doesn’t tie in with the pocket money, but it’s not compared to other printers. Perhaps it’s really a mini.
Use is unexpectedly simple, the print effect is better than the landlord expected, to know before see a lot of 3d print stuff, but the effect is not flattered
After trying this, I truly lamented the fact that the days of 3D printing flying into the homes of ordinary people are not far away. The threshold for use was originally so low and it was not cold at all.
A variety of free resources on the Internet also made me startle. There are so many beautiful things that a 3D printer can really create. Consumables may not seem expensive either.
Of course, the disadvantages are also there, the specification did not explain this model, the landlord began to worry about, but fortunately this machine is really enough "fool", easy to use does not create obstacles, I hope that manufacturers can pay more attention to details in this regard.
Portability: ★ ★ ★ ☆ ☆
Ease of use: ★ ★ ★ ★ ★
Appearance: ★ ★ ★ ★ ☆
Print results: ★ ★ ★ ★ ☆
Price: ★ ★ ★ ☆ ☆