The screen was broken... I think it is something that people are not willing to meet with. Despite carefulness, we sometimes encounter such problems.
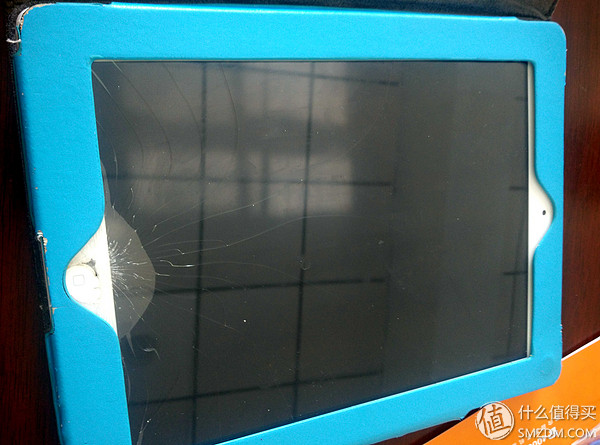
This is a masterpiece of a friend's bear boy. Because it is IPAD2, it has already passed the insurance. Locally, he finds a home repair shop. The result is a 300+ screen change.
300 + price can buy an ordinary domestic board, or to help Omnipotent Taobao, the results from 26-100 + prices are, looking for a high sales, see bad reviews and follow-up evaluation on the election of a single order .
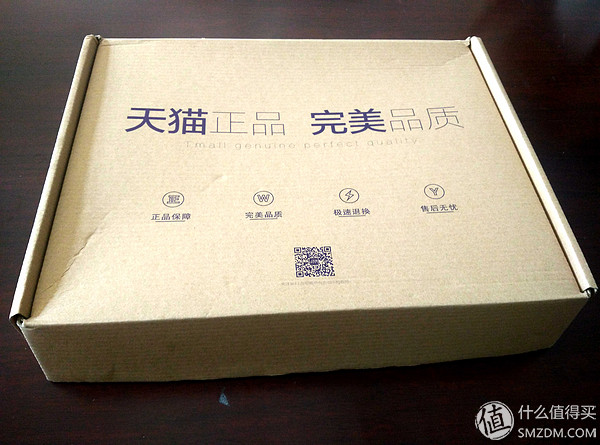
Arrival quickly, packaging looks okay
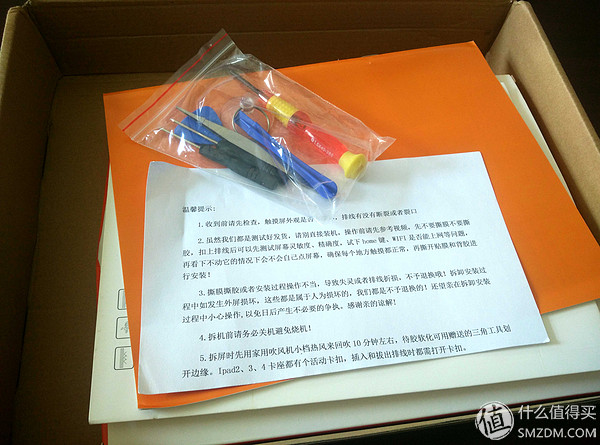
There is a paper description, a set of leveling tools, and a description...
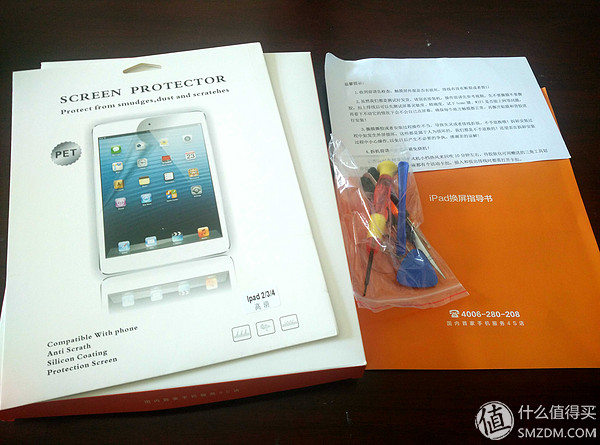
Comes with a regular foil
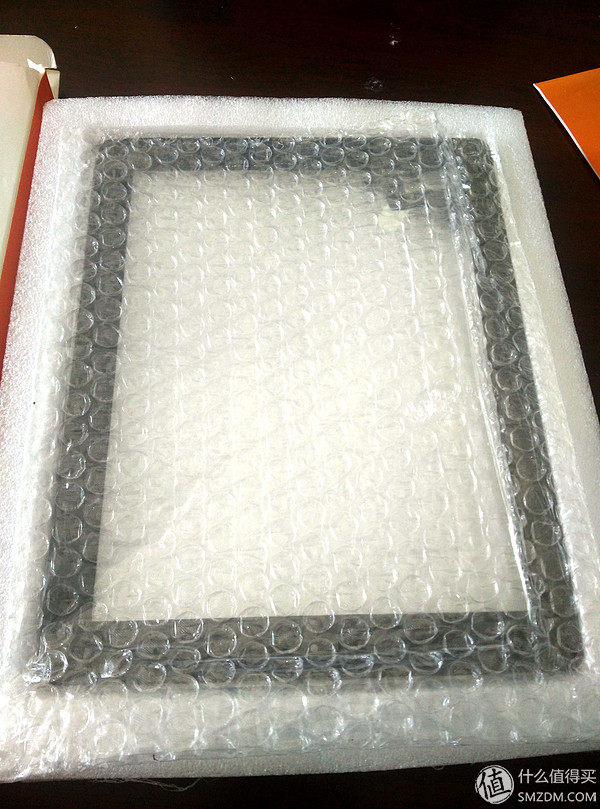
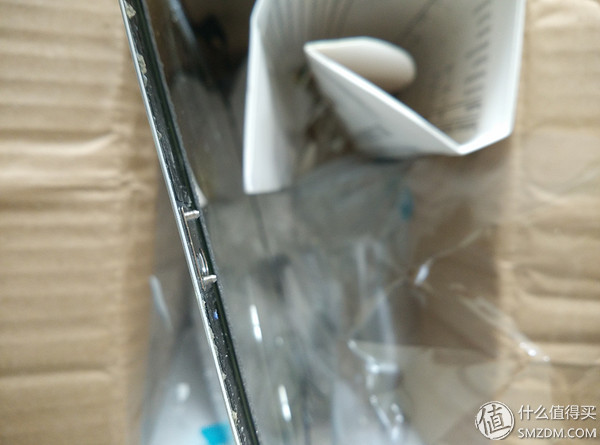
The box with the external screen is a white board, but it has a bubble wrap and a bubble bag. The protection is in place.
It is estimated that it is a matter of white balance.
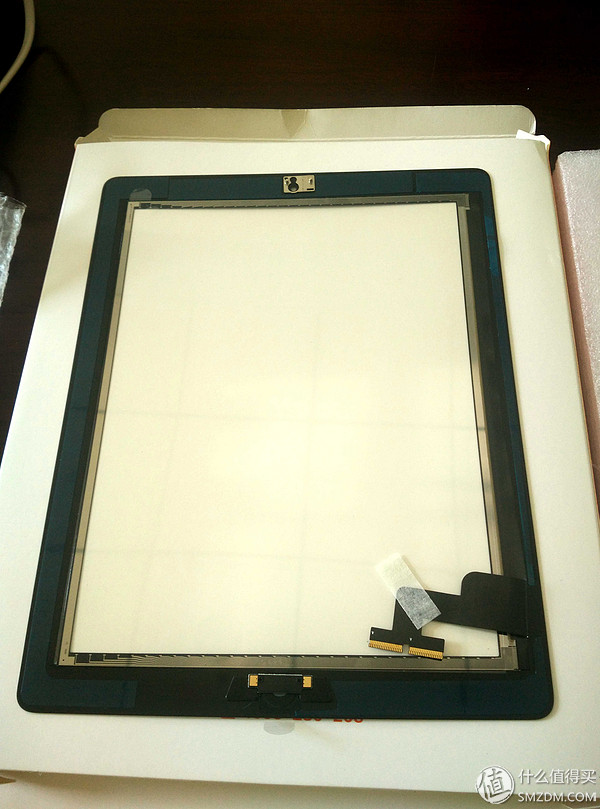
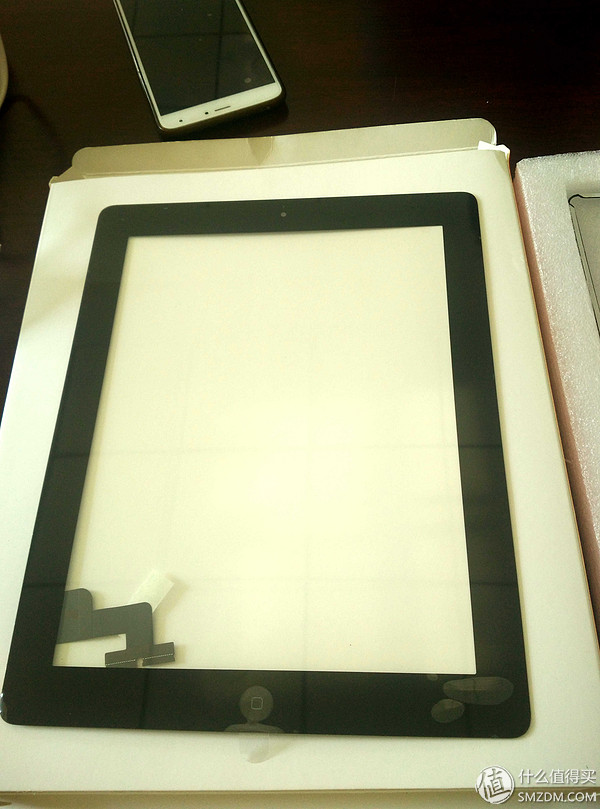
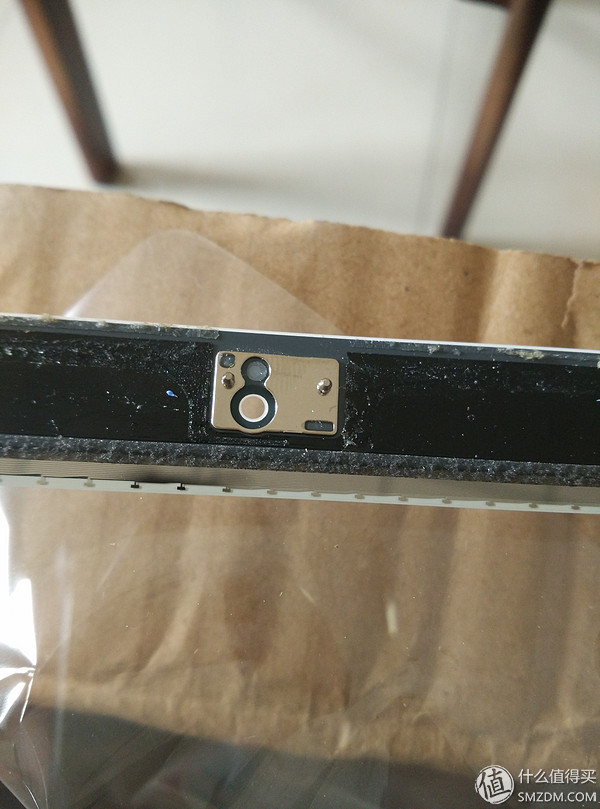
On the back, the line, the following is the HOME key, there is a camera locator above, that installation must pay attention to, when the first time to install it ignores it, the result returned to work.
There is also a seal, because the black screen is selected, so this is also black.
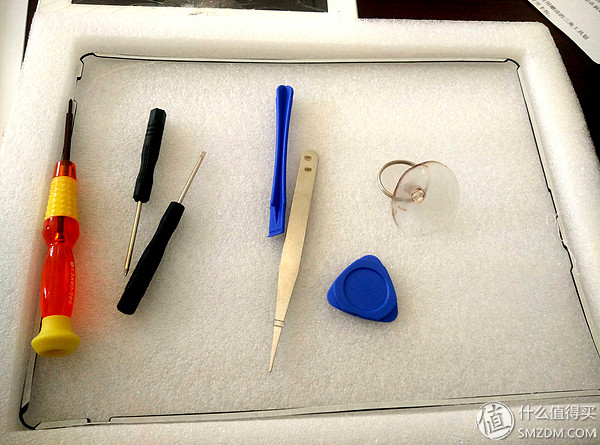 With the tools, three screwdrivers, in fact, for a cross, a word is enough, dumplings, this is very good, two kinds of plastic screen accessories, there is a sucker, these are more suitable for screen complete dismantling, Broken screen suckers are not used.
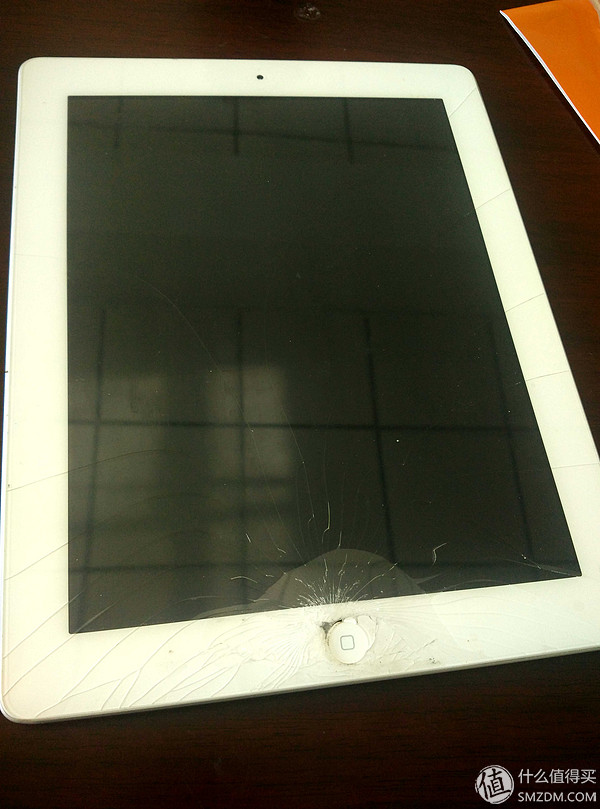
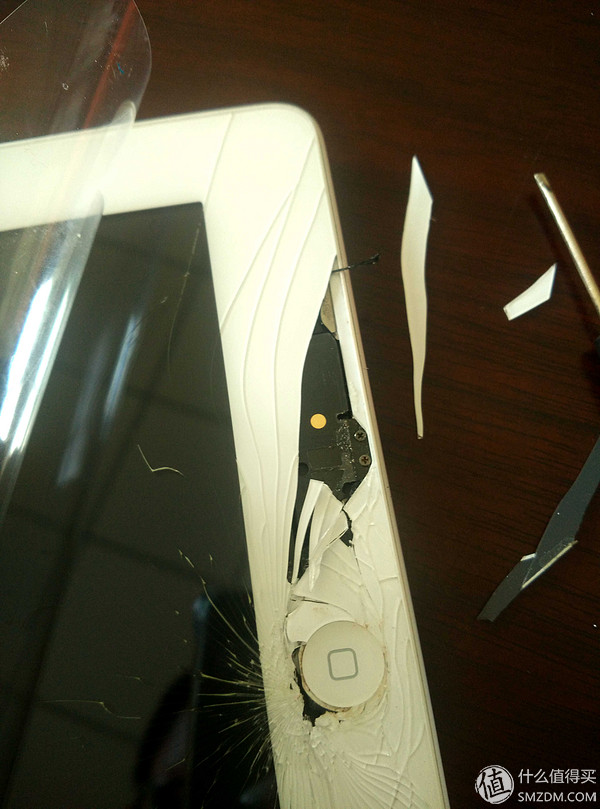
The IPAD of the face is taken out and it looks like it is very miserable. It is said that when it is broken, it can still be drawn twice, but then it is completely gone.
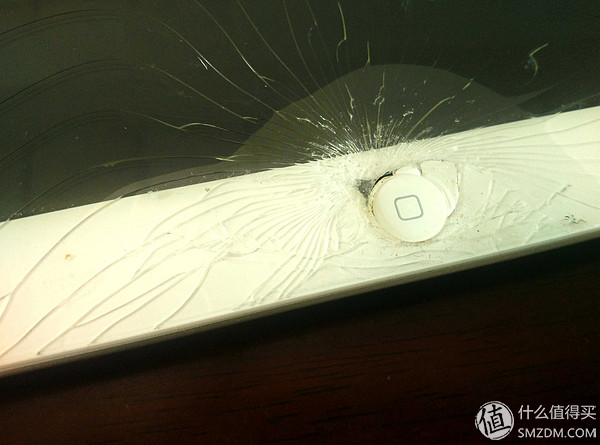
To Zhang Jinjing, it looks like it should be shattered from the upper left corner of the HOME key, and that place is almost pink
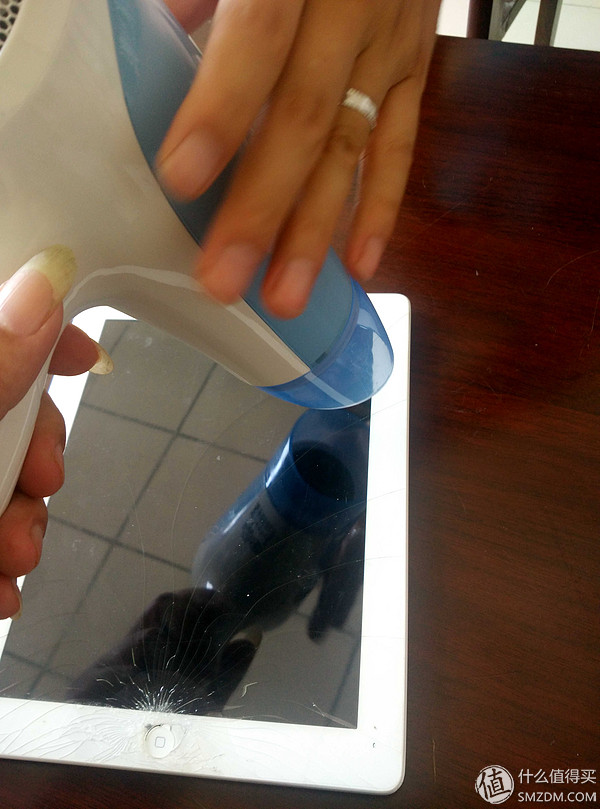
Hair dryer, on, hot air whirls to blow the frame...
First clean up the broken places. In fact, this step is wrong. You should use a wide tape to put the broken places together so that the glass slag will not run around.
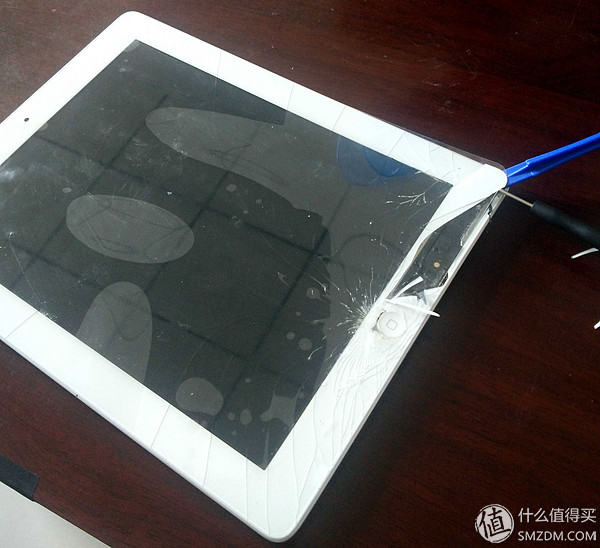
Starting from the corners of the shards, but in fact it is not good, because the broken glass is more severe, and it hasn’t been turned on one by one. Then it changed face and it was better to start from the top place.
From the top of the glass block is more convenient, from top to bottom, open it, in fact, it comes with the glue in the seal that block is still not, there is part, that is, pay attention to the line that block on the line.

The frame finally opened, but the more severe pieces below still had to be cleaned up little by little. There is a small piece on the right

After clearing the broken glass around the border, you can remove the inner screen. It is very simple. There are a total of four screws on the four corners.
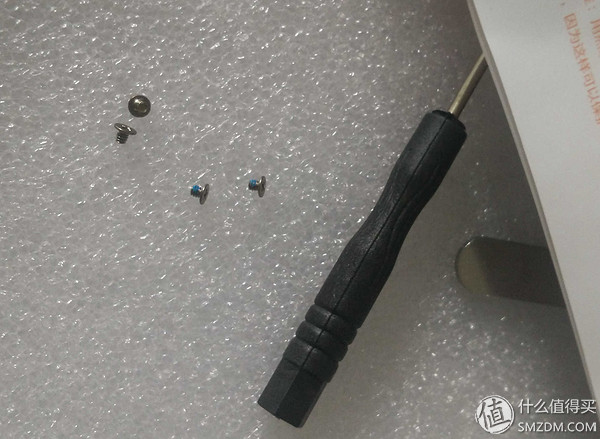
Remove the screws, very small, pay attention to save.
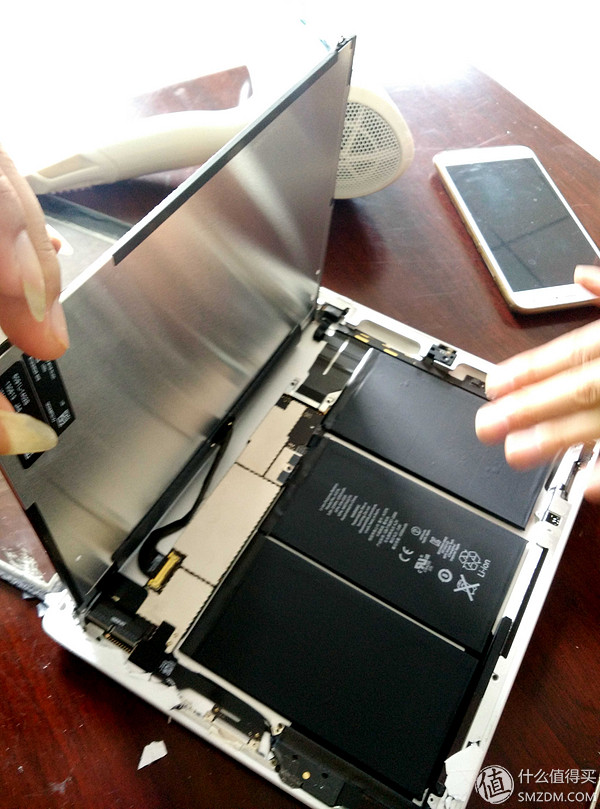
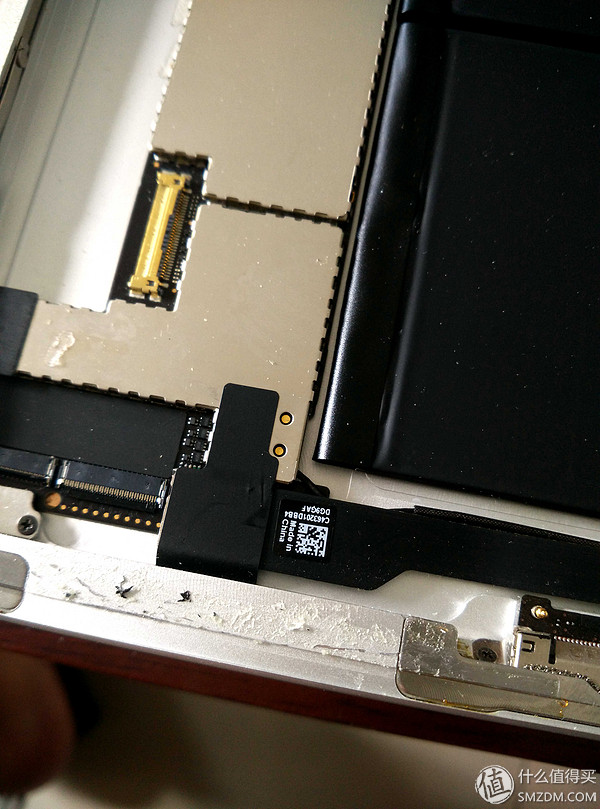
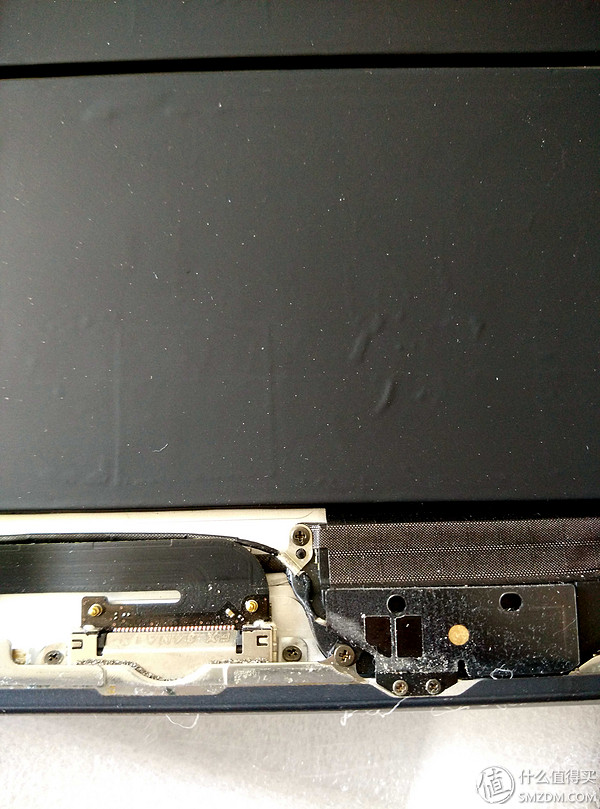
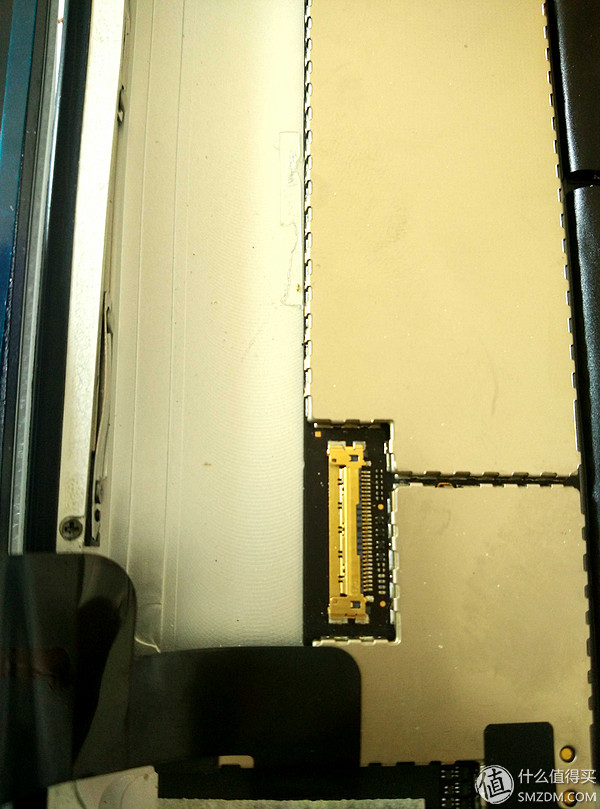
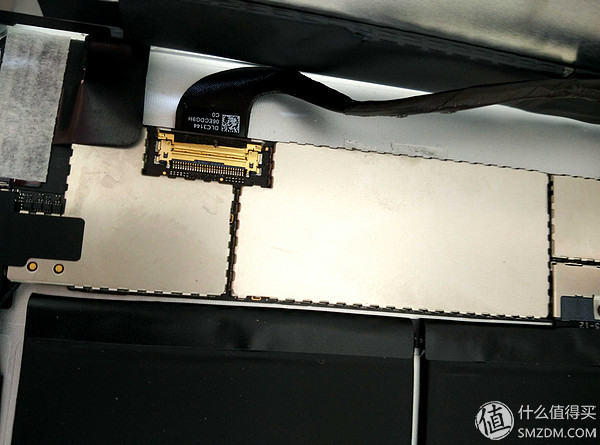
Then flip up the inner screen and you will see the lower cable connector. There are a total of two groups. One group is the line of the inner screen, and the lower one is the touch screen and the HOME button.
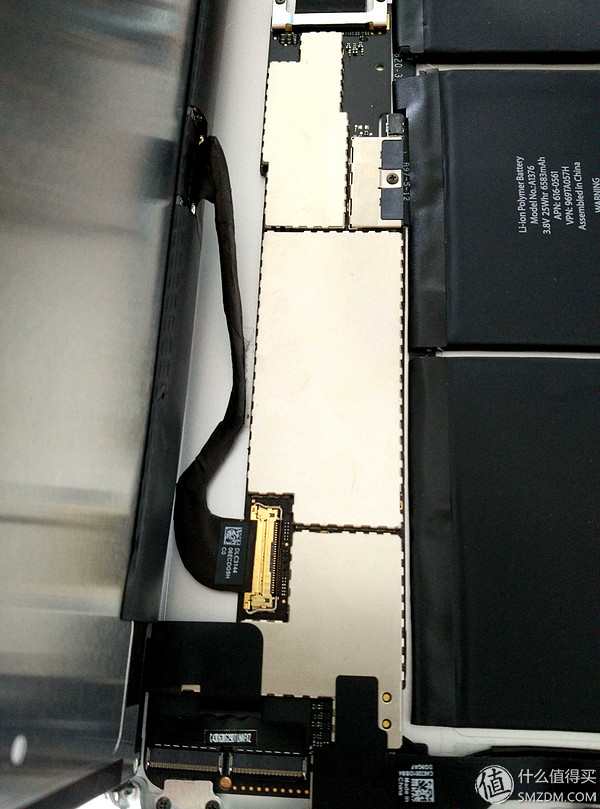
The inner screen cable design is more scientific, using a small lock fixed, is the right side of the small wire, studied for a long time before it was found that it can be turned up, mainly used to lock the cable plug, will not She pulled out, the line was inserted from left to right, and at first thought it was similar to that on some mobile phones. It was stuck from the top down. Fortunately, no hard pull.
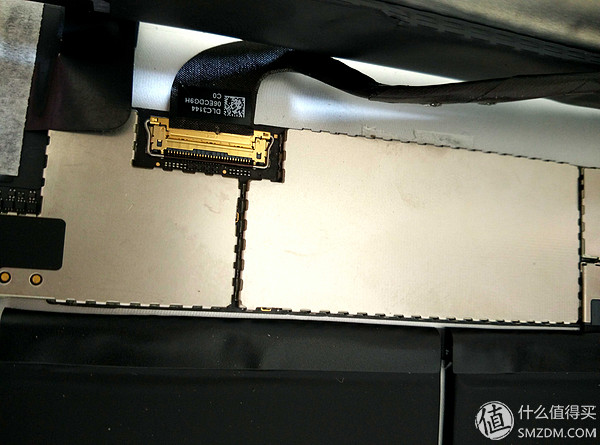
Turn the wire ring up and push it out to the left (in the upward direction on the picture) to remove the cable. In this way, the inner screen is out of the fuselage, and be careful to put it well.
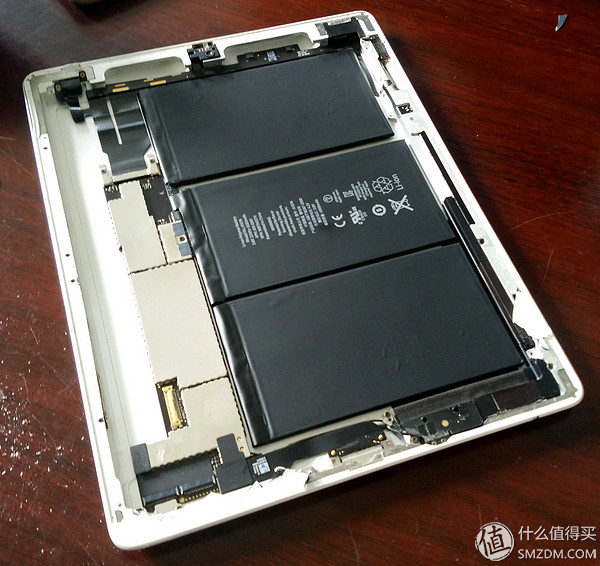
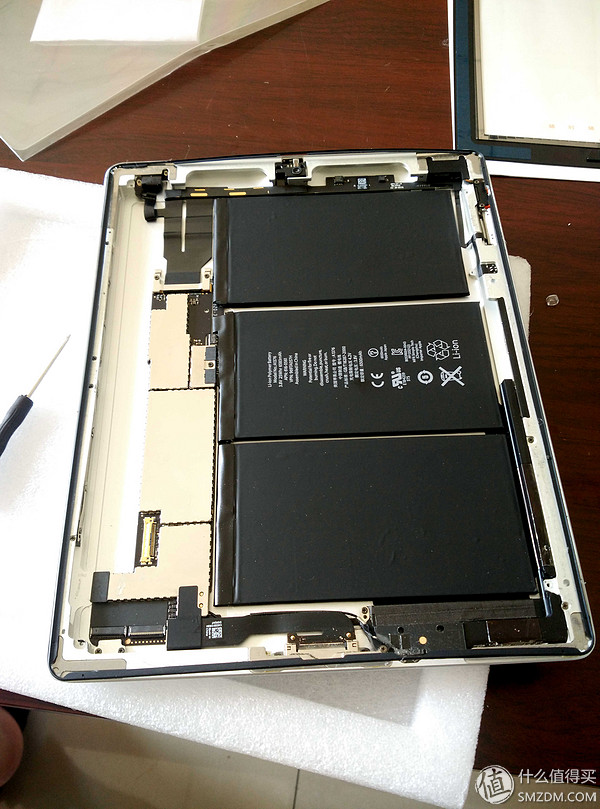
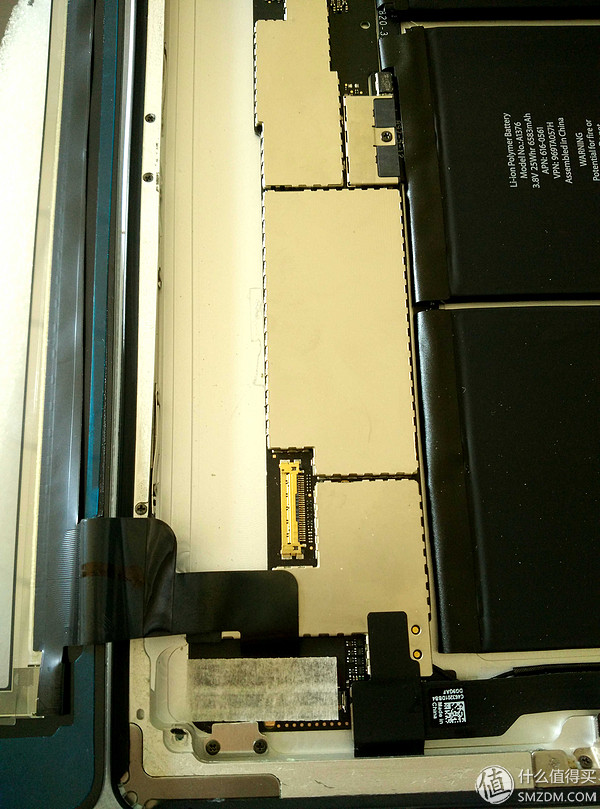
After removing the inner screen, the battery is seen. The actual circuit board cannot see much. It should be under the battery or under the metal shield on the left. Because it is a friend's machine, it will not be explored again.
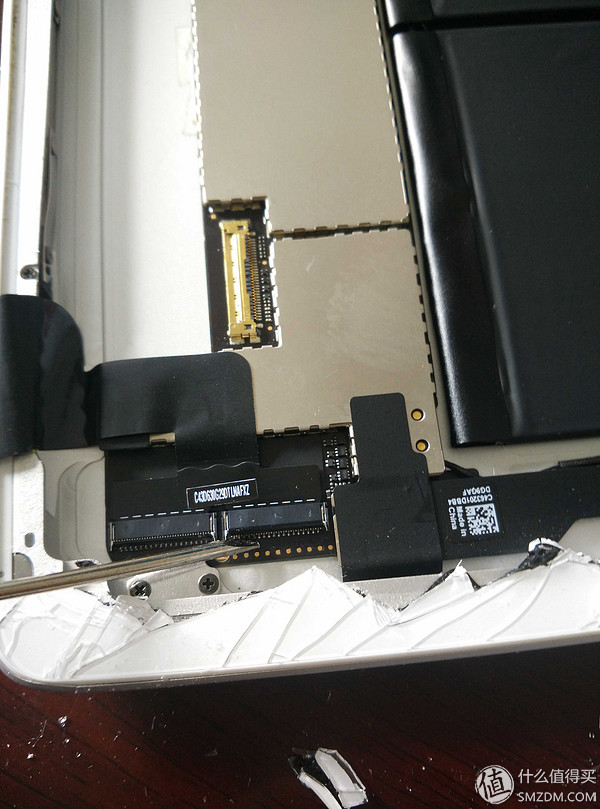
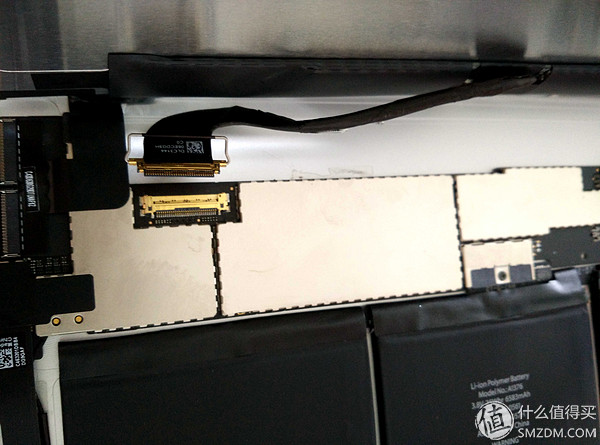
Next is the outer screen cable. The bottom of the two cable holders lifts the card with a screwdriver and the cable can be easily pulled out.
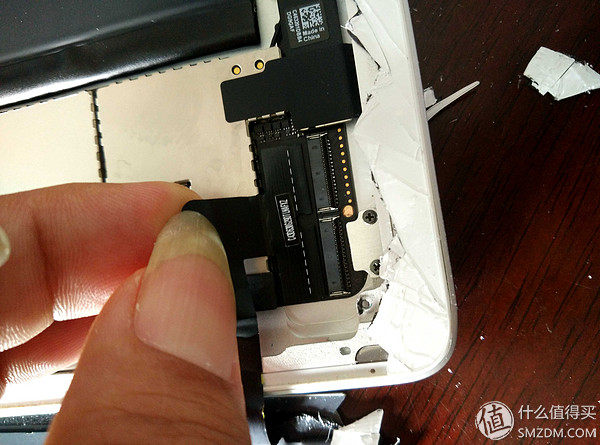
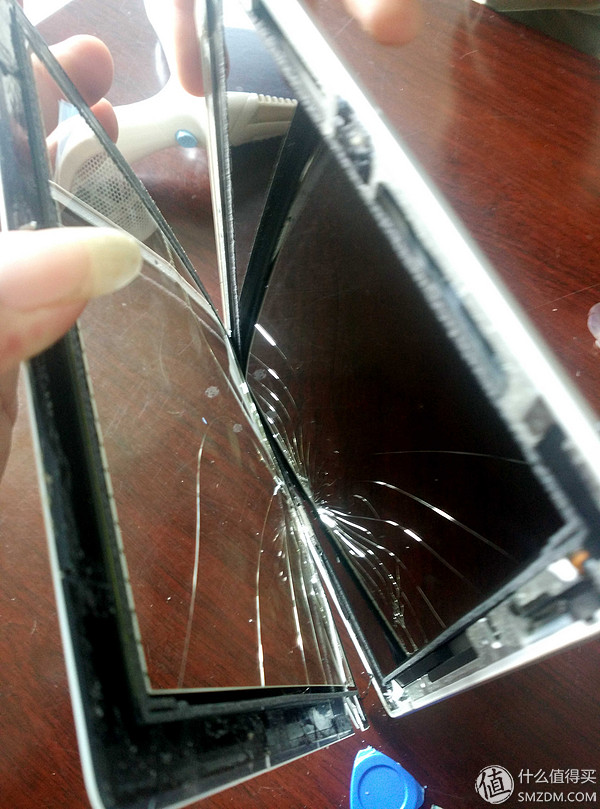
The screen of the outer screen is divided into two heads and can be drawn out at the same time.
 This completely dismantled the screen. Next, you can rest assured to clean up the glass residue

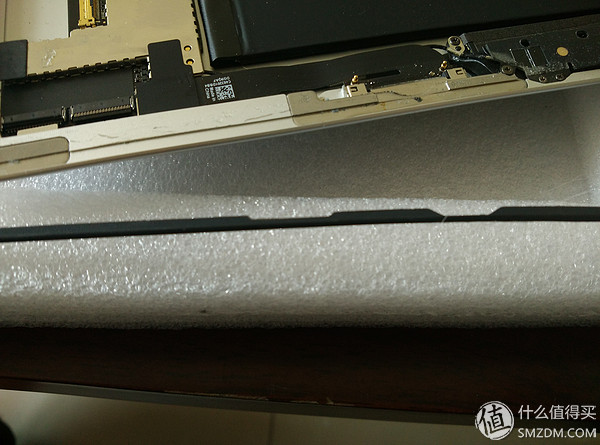
The glass is cleaned and the original seal is also pulled off (the white side bars are curled up on the right side). This time when the demolition should pay attention to points or can be kept good, there are times when shooting external screen, some do not take this, if you do not take alone to shoot, or when the attention of the demolition, do not break it on the line, it's The role is to add a layer of buffer in the middle of the glass and aluminum alloy frame. Protect the external screen.
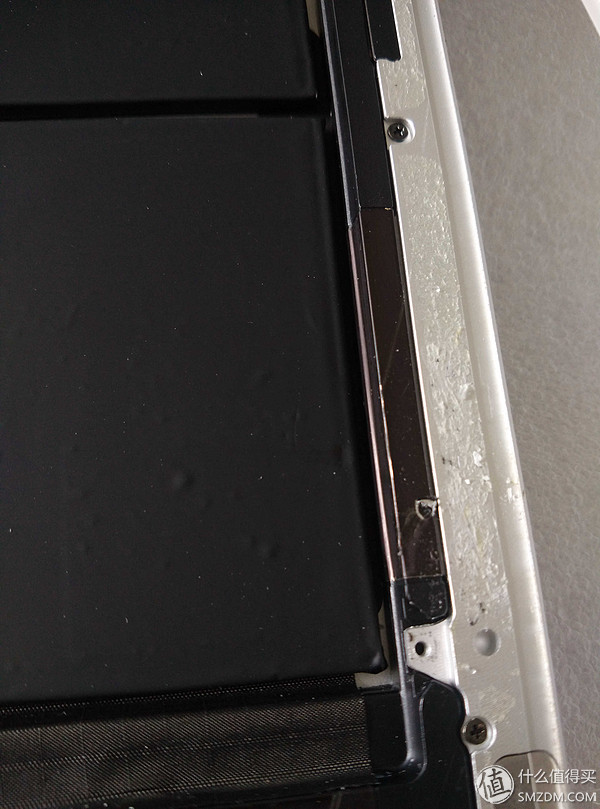
However, there are still a lot of glue marks left on the edge, this should be noted that it must be cleaned up, otherwise it is easy to inadvertently stick the screen.
In some places, there are a few pieces of glass that must be properly cleaned.
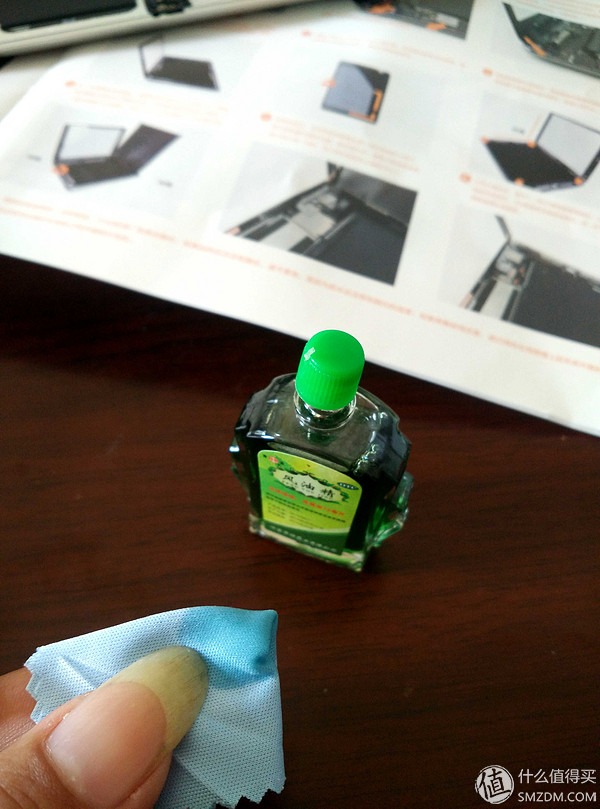
How to deal with these glue marks? Find a circle in the office, only found this, but it can still be used. Yes, you did not misread it. It was wind spirits. After some wiping, the effect was good.
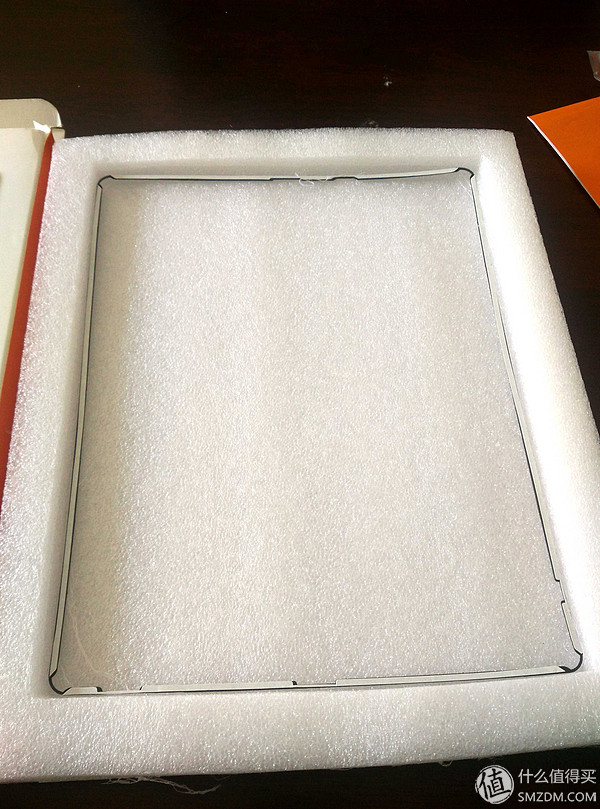
It is appropriate to compare the black seal to the frame.
This point should be noted that it is not free to put, there are grooves on the sealing strip, it is necessary to align the position of the frame, otherwise it will be troublesome.
There is also a sticker on the back of the seal, which can be directly attached to the slot of the frame after tearing off the protection.
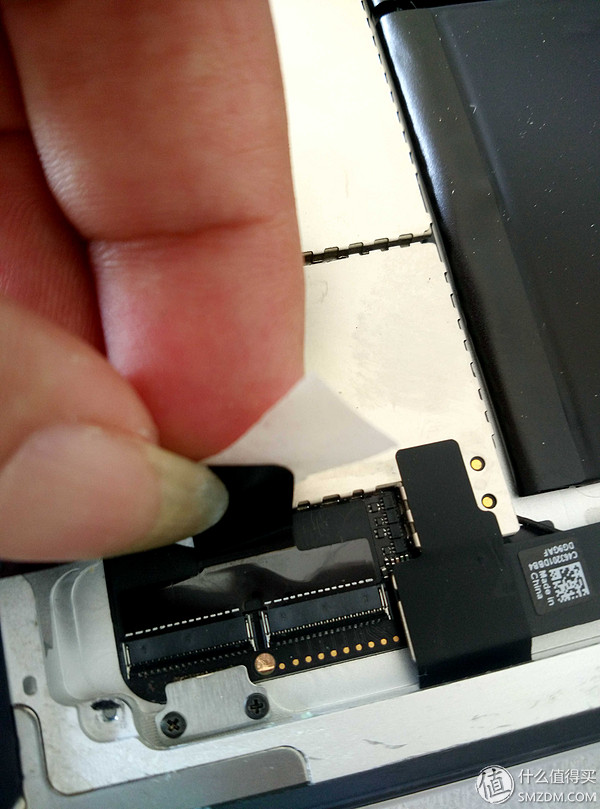
Then install the external screen of the cable, be sure to plug in place, align the socket is still very easy, you can use the tweezers to help in the back.
The installation instructions suggest that if the touch screen is drifting, it is estimated to be a problem of static electricity, it is necessary to paste insulation tape on the cable, here is a fixed paper tape instead.
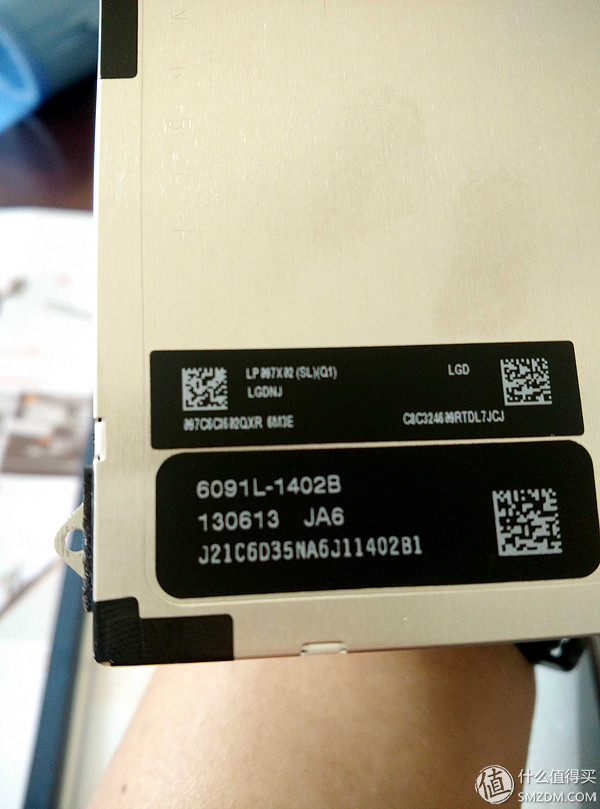
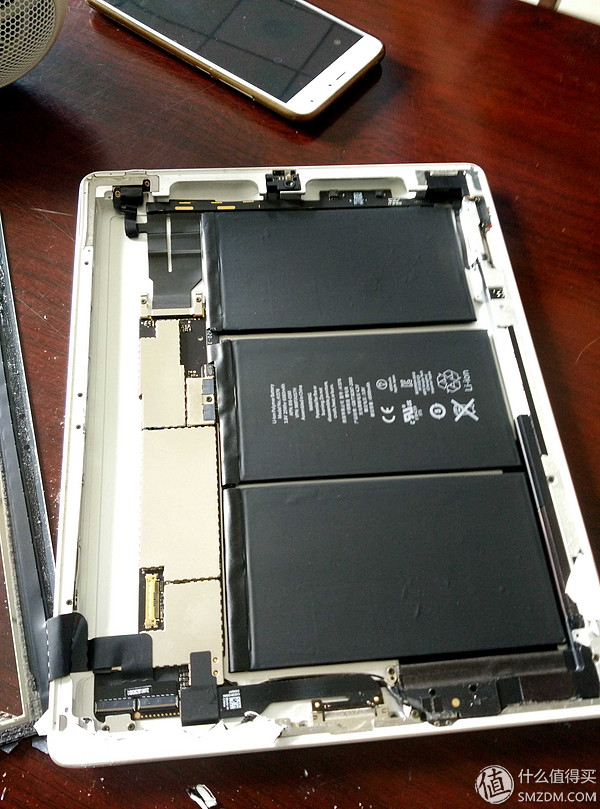
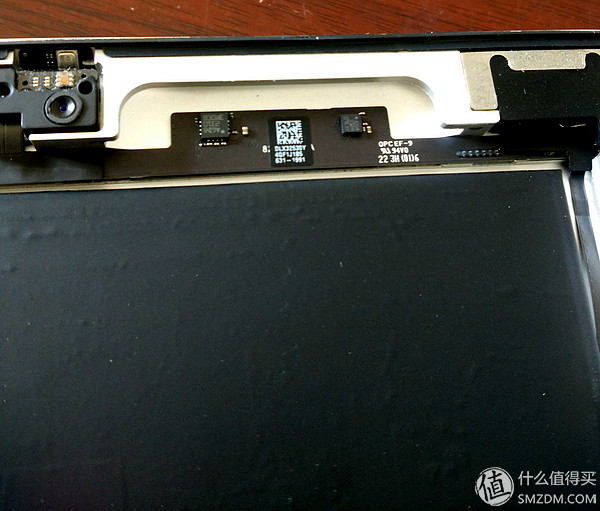
Before the inner screen, first take a few photos inside the machine. This is the model of the inner screen.
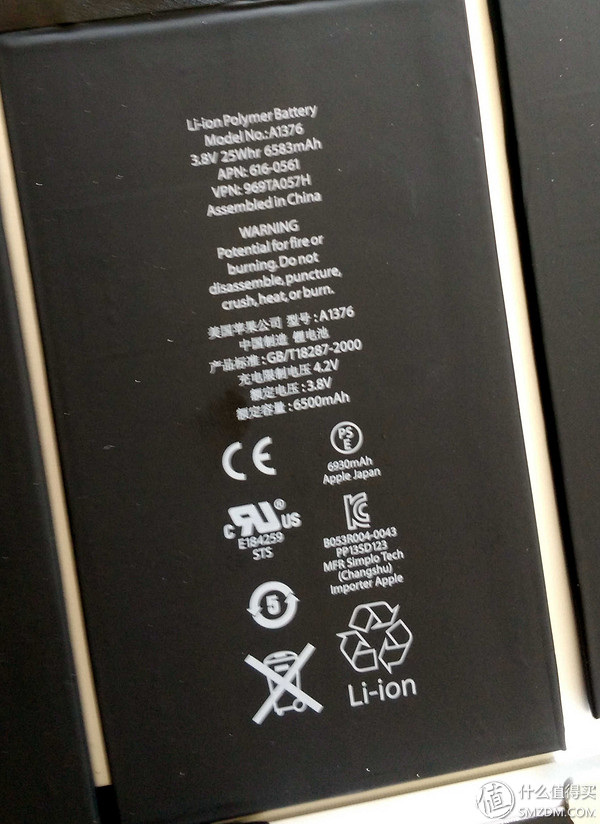
Battery model, a total of three
camera?
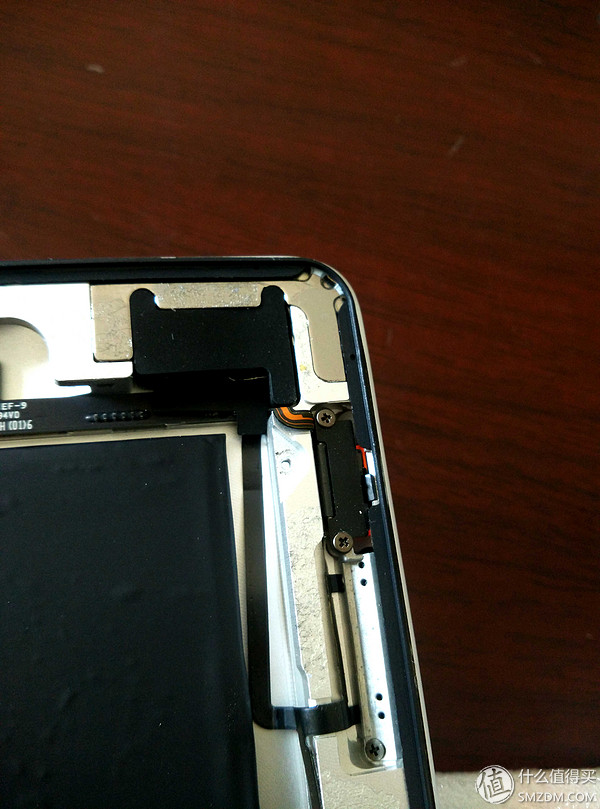
Volume button
Well, connect the inner screen cable
Insert the plug first
Wire clips on the card, so it is solid
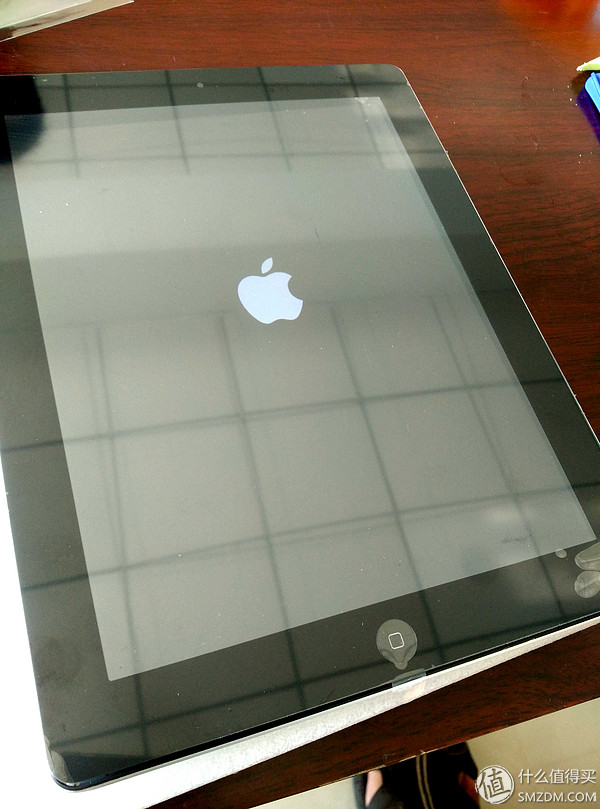
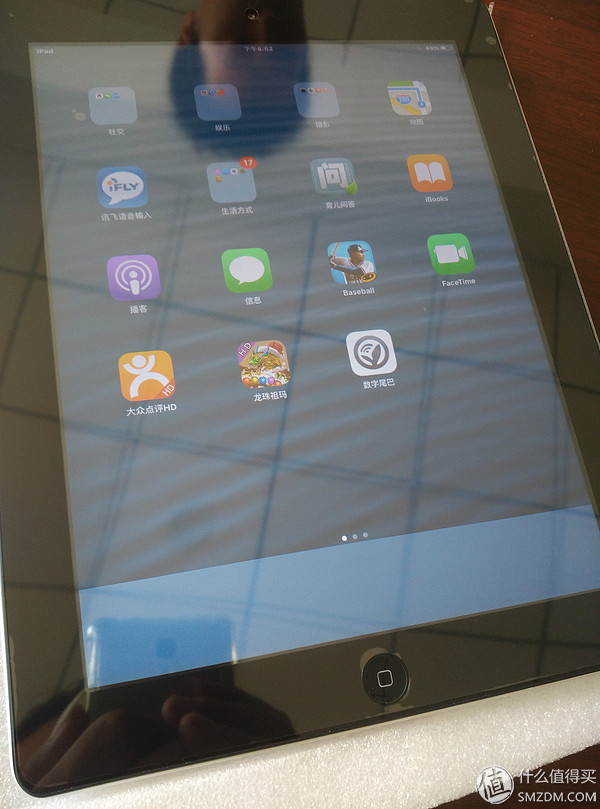
Boot test, when the external screen is not fixed
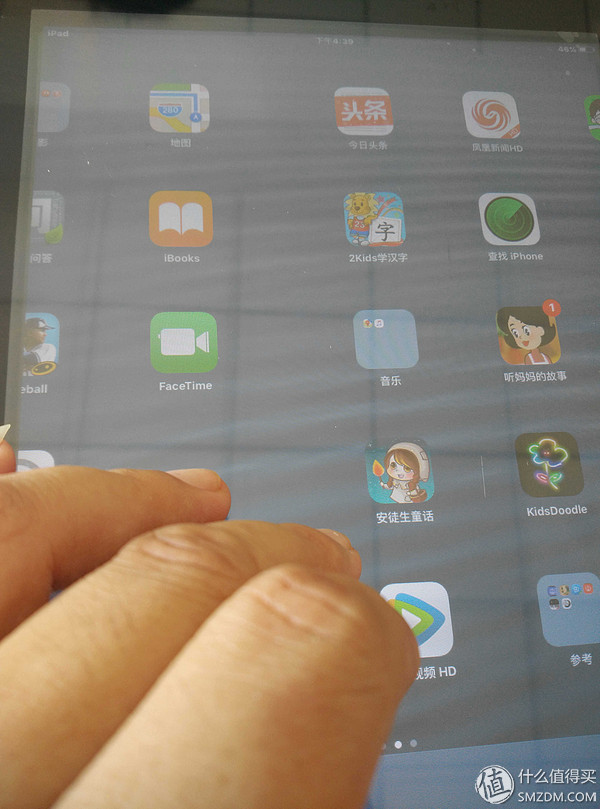
There is no problem with the touch screen and the HOME button, and the haha ​​is done once, then screw on, fix the inner screen, tear the tape, stick the outer screen
In order to stick to the external screen in order to its HOME button, so from the following paste, the result was stuck above this stuff ... ... No way, only to reopen the paste, but fortunately began to stick not tight
From the front, it is not easy to see it. From the top it is seen that the two metal projections of the fixed camera are attached. The second time it is affixed from the top to the bottom, OK, because there is a sealed frame, so just press the outer screen border into it. Relatively simple, there is a point to note that the screen of the external screen, must be preceded by several Laos, so that it can go smoothly.

See the posted corner effect
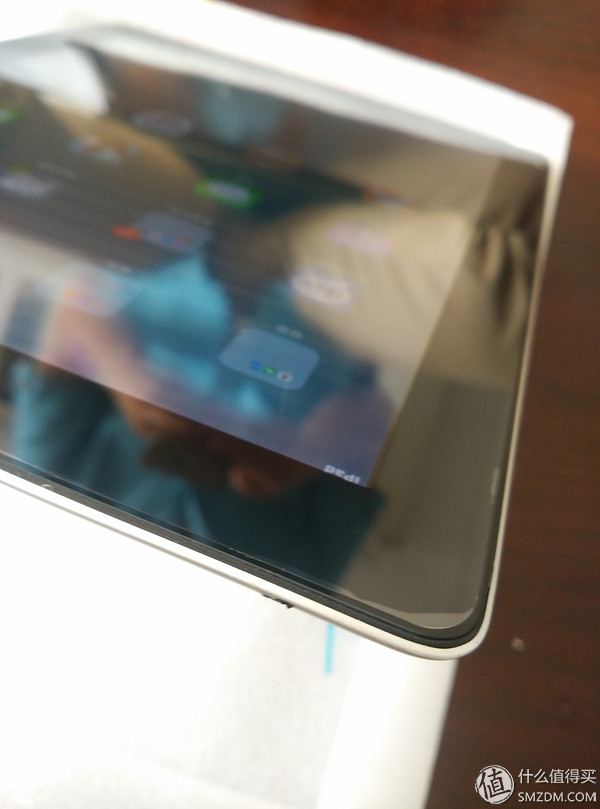
how about it? its not bad, right! This 80 yuan to get!
IPAD2 is full of blood again!
In fact, for the broken screen machine, the replacement is relatively simple, because when the demolition does not take into account the integrity of the external screen, which is much easier than dismantling parts, it should be noted that the beginning should be broken with a wide tape Part of the sticky, so you can avoid broken glass residue running around, followed by external screen must pay attention to the inner screen, do not break the outer screen, the inner screen is also broken it would not be worth the candle, and finally it should be bold and careful , so that the money can save their own baby, it is still quite cost-effective!
Drum Sieve,Thailand Paddy Cleaner,Paddy Drum Pre Cleaner,Grain Drum Pre-Cleaner
WOSENS TECHNOLOGY Co., LTD , https://www.wosenstechnology.com